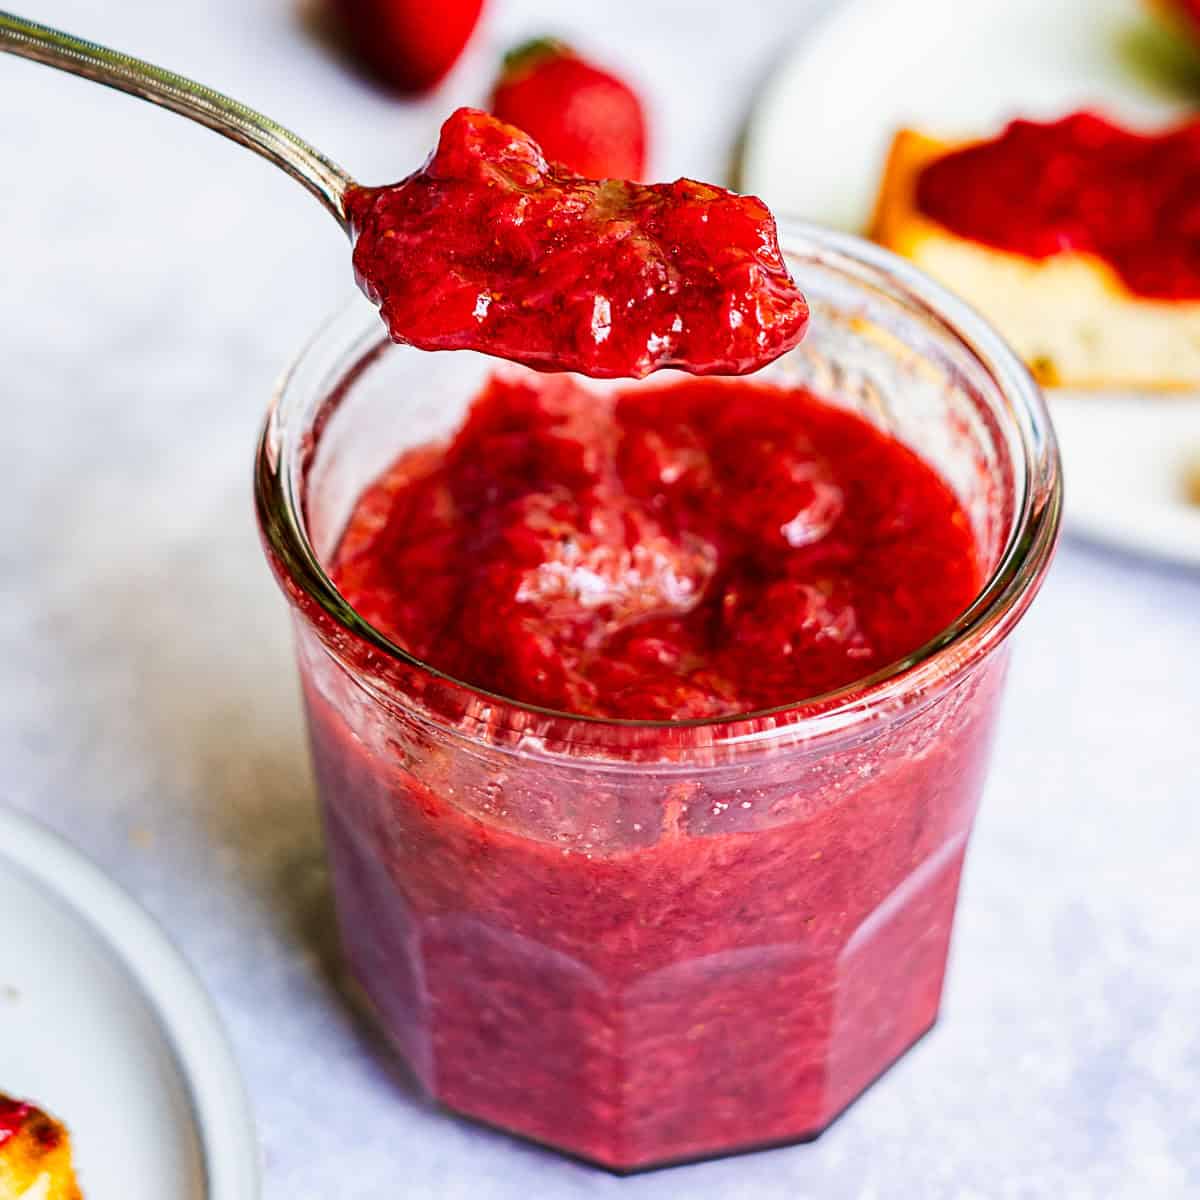
Easy Homemade Strawberry Jam Without Pectin

This easy homemade strawberry jam without added pectin is a super simple recipe that is packed full of berry flavor! You'll never buy store-bought jam again! It uses a total of three ingredients, including fresh in-season strawberries for the best flavor.
Wanna save this recipe for later? 📬
Equipment
- 1 1.5-quart saucepan heavy bottomed, non-reactive.
- 1 glass jar with tight fitting lid
- 1 silicone spatula
- 1 pairing knife
- 1 cutting board
- 1 baking scale
Ingredients
- 600 grams strawberries about 1.5 pints of berries
- 100 grams granulated sugar 1/2 cup
- 1 tsp lemon juice small squeeze from 1/2 a lemon
Instructions
- Clean + prep berries. Wash, trim, and hull strawberries. Slice the berries into halves or quarters, depending on how chunky you would like your jam. The berries will break down as they cook.600 grams strawberries
- Add to saucepan with sugar. Place your berries into a 1.5 quart sauce pan. Add granulated sugar on top of the strawberries, and give everything a good stir.100 grams granulated sugar
- Macerate at room temp. Allow the sugar and berries to sit for 5-10 minutes. This process is called maceration. The sugar pulls moisture out of the berries.
- Heat mixture + cook down. Place the saucepan over medium-high heat, and allow the mixture to come to a simmer for 45 - 60 minutes, stirring occasionally to keep the berries from burning. If it is boiling too much, lower the heat to medium or medium-low.
- Watch for thickness + smoosh berries. You will notice the mixture becoming thicker, and jammy. You can also use your spatula to smush the berries against the side of the saucepan to break down the berries even further.
- Add lemon juice. Once the jam is about as thick as you like, turn off the heat but leave the pot on the burner, and add in a little squeeze of lemon juice.1 tsp lemon juice
- Cool. Allow the mix to cool for at least 30 minutes before transferring to a clean glass jar. Be sure to use a jar that can withstand the high heat from the jam as it will still be quite warm.
- Put in jar. Seal your jam with a tight fitting lid, and place it in the fridge to cool overnight. The jam will thicken up considerably as it cools.
- Use or store. Store your jam in the fridge for up to two weeks, or freeze it for up to three months.
Notes
troubleshooting tips
-
- thickening - be patient with your jam when it's cooking! Unless you're using a thermometer to monitor the temperature (say that six times fast), you'll want to keep your jam simmering at a steady pace to thicken up.
-
- sugar ratio - start with using less sugar if you like a less sweet, more fruit-forward jam. You can always pull a spoonful of jam out of the pot, allow it to cool, and taste it while you are cooking. If you like, you can add more sugar to sweeten things up!
-
- berry flavor - use smaller berries for the best flavor, and make sure you choose berries that are fully ripe. Strawberries do not ripen more after they are picked, so if your berries have white or yellow portions on them, unfortunately, they will be very mild or even bitter in flavor.
ingredient swaps & customizing your Jam
-
- puree and pectin- when I make my strawberry lemon bars, I prefer the jam layer to be smooth and vibrant. To do this, I puree the strawberries in a blender first, then strain them through a fine mesh sieve. Then, I add a bit of powdered low-heat pectin to help the liquid strawberry and sugar mix gel-- a technique I learned in the Milk Bar cookbook during the 2020 quarantine!
-
- sweetener - you can use natural or less processed sugar instead of granulated sugar to deepen the flavor of your jam!
-
- balsamic - elevate your jam with a 1-2 ounces of balsamic vinegar! The sweet, acidic flavor of the balsamic vinegar adds a flavorful punch to the strawberries.
-
- roasted - Roast the strawberries for 20-25 minutes at 350ºF to deepen the flavor of the berries before starting the recipe. Be sure to scrape off all the juices that cook out of the berries and use them in the pan, too!
Nutrition
Calories: 48kcalCarbohydrates: 12gProtein: 0.3gFat: 0.2gSaturated Fat: 0.01gPolyunsaturated Fat: 0.1gMonounsaturated Fat: 0.02gSodium: 1mgPotassium: 78mgFiber: 1gSugar: 11gVitamin A: 6IUVitamin C: 30mgCalcium: 8mgIron: 0.2mg
Did you make this?! 👀Let everyone know how it was! 💕
Keyword: jam, strawberry, The Balancing Act, The Feels, The Pop