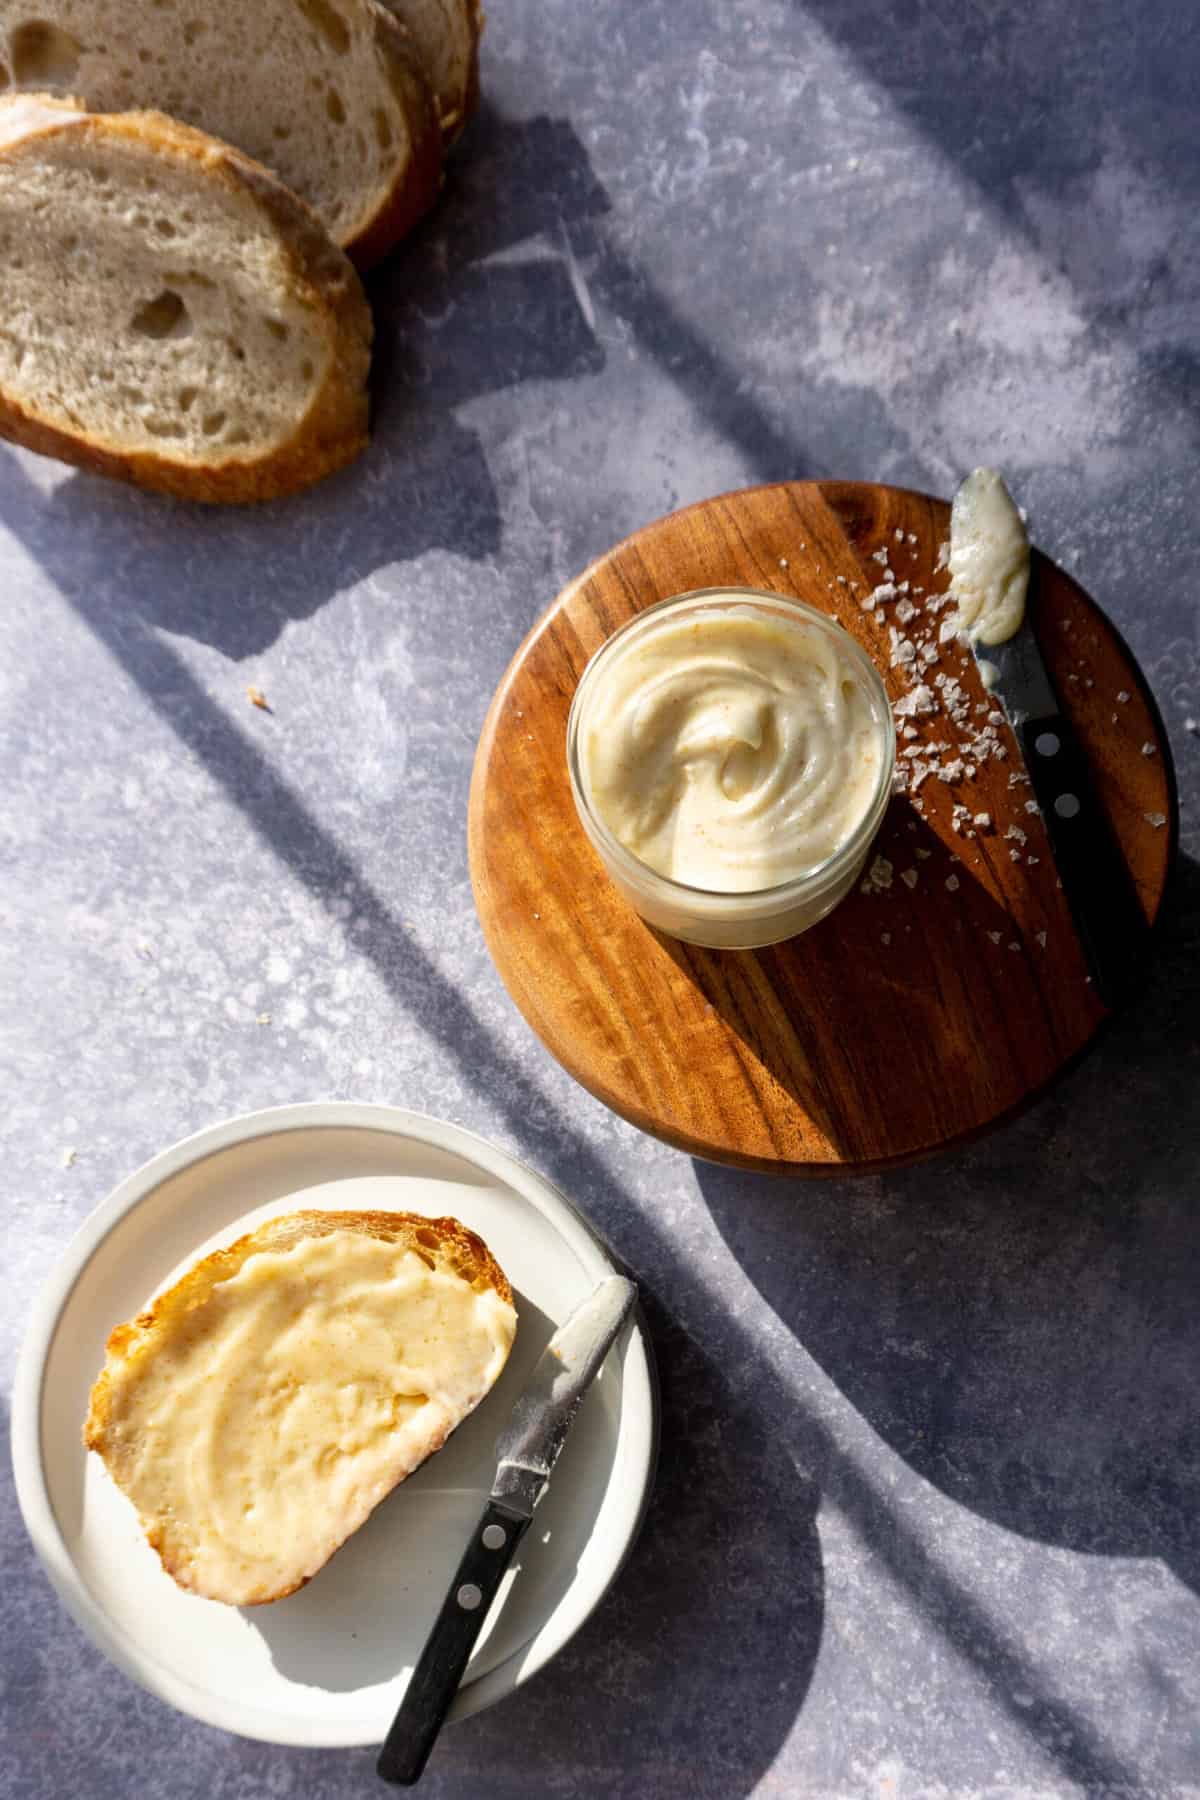
This whipped brown butter recipe is an easy, light, and airy spread that’s perfect for topping anything with the caramelized, nutty flavor of browned butter. As a bonus, I’m including a tip for keeping your butter spreadable, even after being in the fridge!
When I was in baking and pastry school, I loved to play around with simple flavor swaps. Using brown butter in place of regular butter is one of my favorite tricks of the trade. Since it’s made with unsalted butter, you can tweak the saltiness to your preference.
It pairs perfectly with a fresh loaf of sourdough bread or on sourdough crostini, and is mouthwatering when spread on top of sourdough pancakes. It also works beautifully to level up any recipe that uses butter, like these copycat Disney rice krispie treats or whipped sugar and spice butter that’s used in a holiday hot buttered rum!
🛒 ingredients
- unsalted butter – use a high-quality butter like land-o-lakes or Tillamook. A brand with higher butter fat content, like Kerrygold, will brown even more because of the higher milk solid content, so keep that in mind as you choose your butter!
- flaky sea salt – I know, I know. We used unsalted butter. And yes, now we are adding salt to it. BUT! Stick with me: doing things this way makes it much easier to control the saltiness of the butter. I like using a flaky salt like Maldon brand.
optional ingredients for a spreadable version
- mild-tasting oil – you can use whichever oil you prefer, as long as it’s mild in flavor. We are only adding a bit of oil to keep the butter spreadable and prevent it from re-firming into a solid block. I like to use a mild olive oil or avocado oil.
See recipe card for quantities.
🍳 instructions
While browning the butter happens quickly, it takes a bit of time for the butter to cool enough to be whipped up.
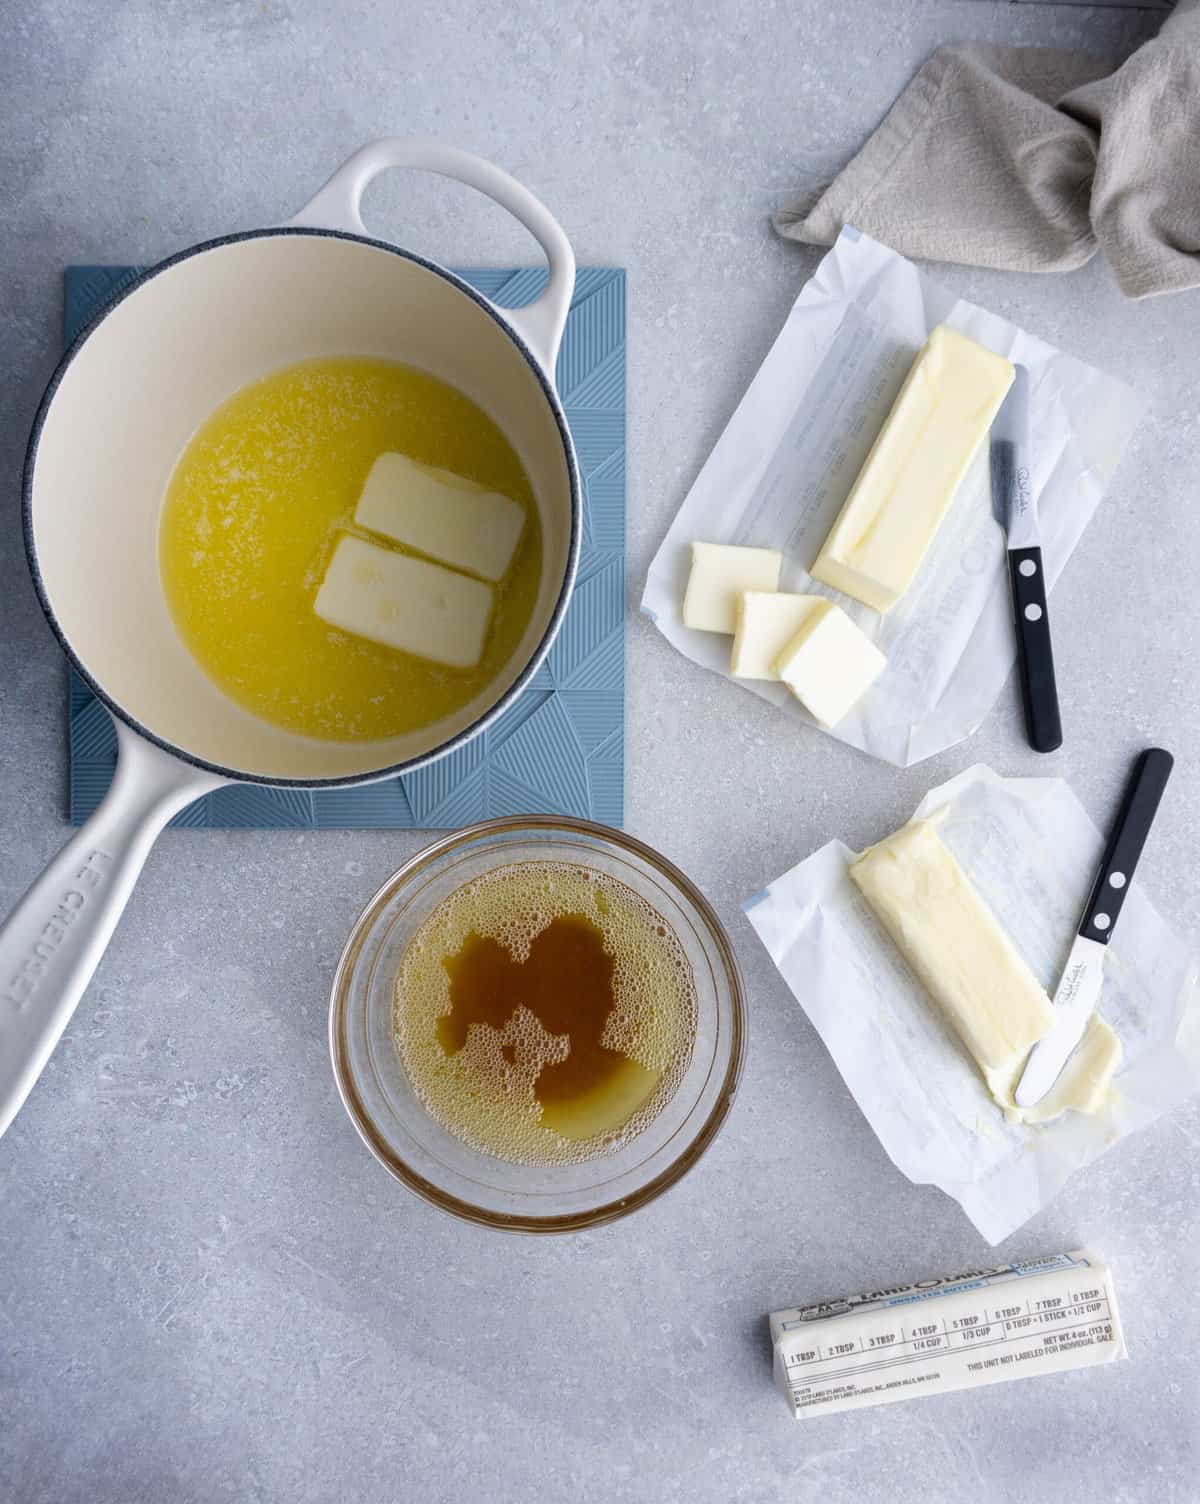
Place the butter in a small saucepan over medium heat.
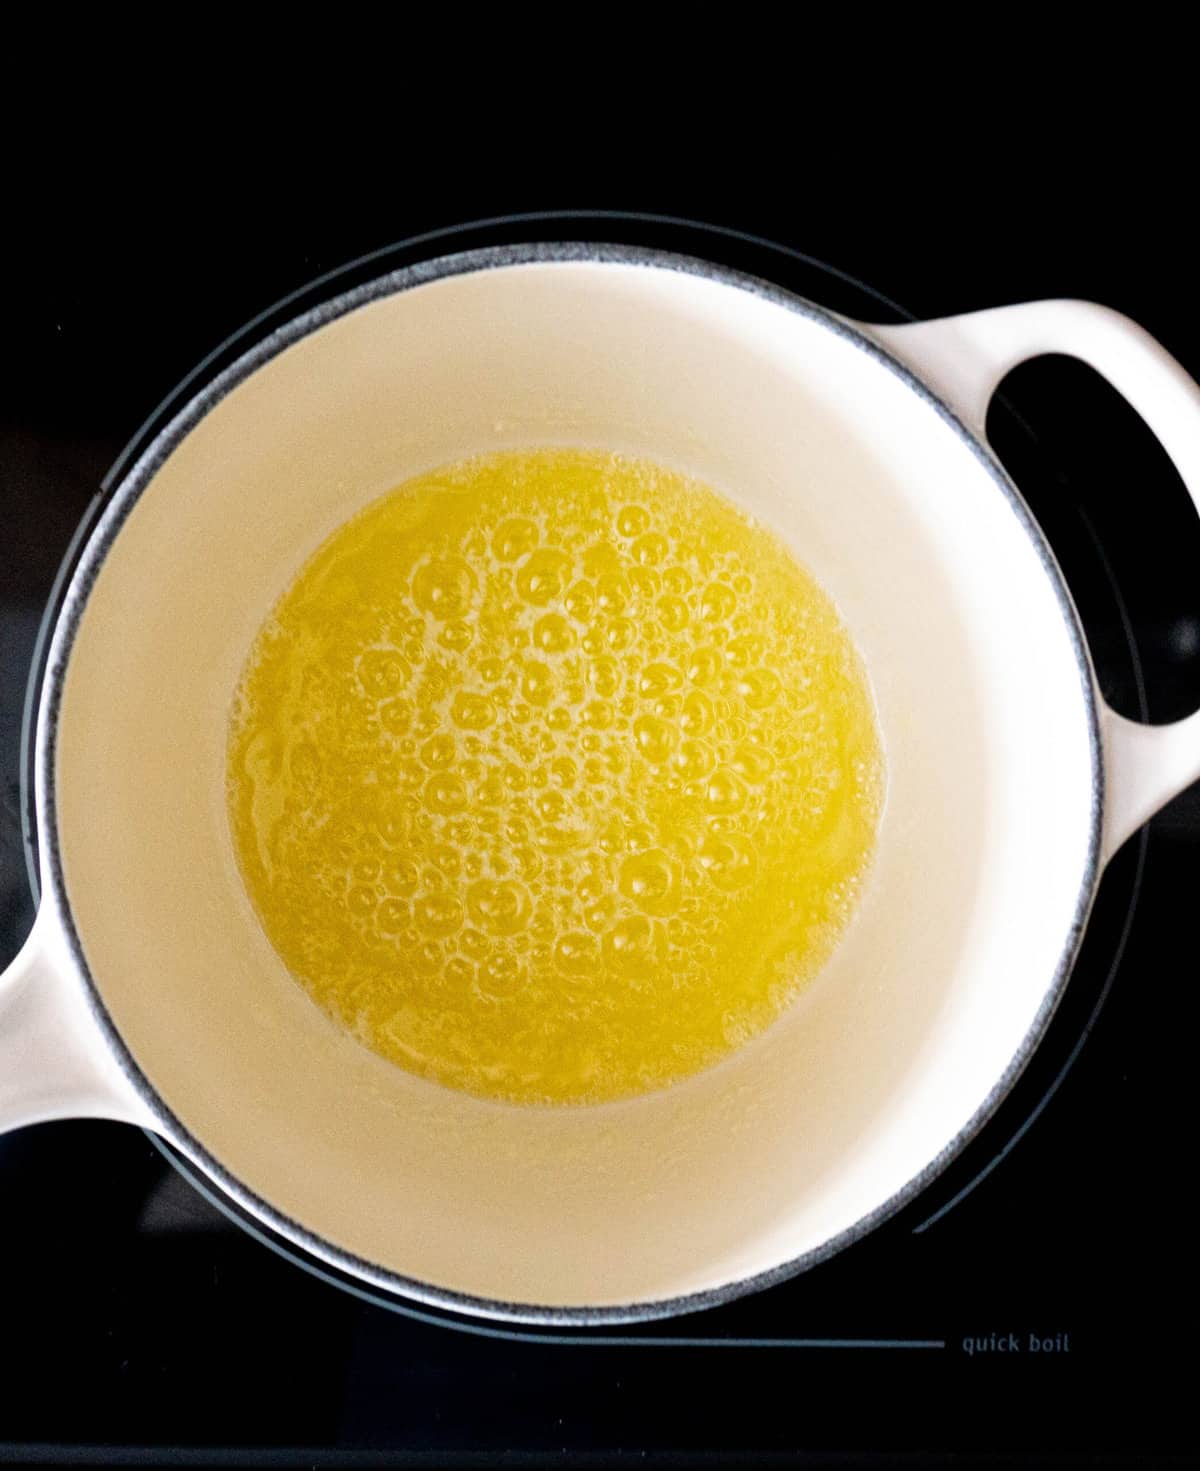
Stir intermittently, allowing the butter to evenly heat until it starts to sizzle and foam.
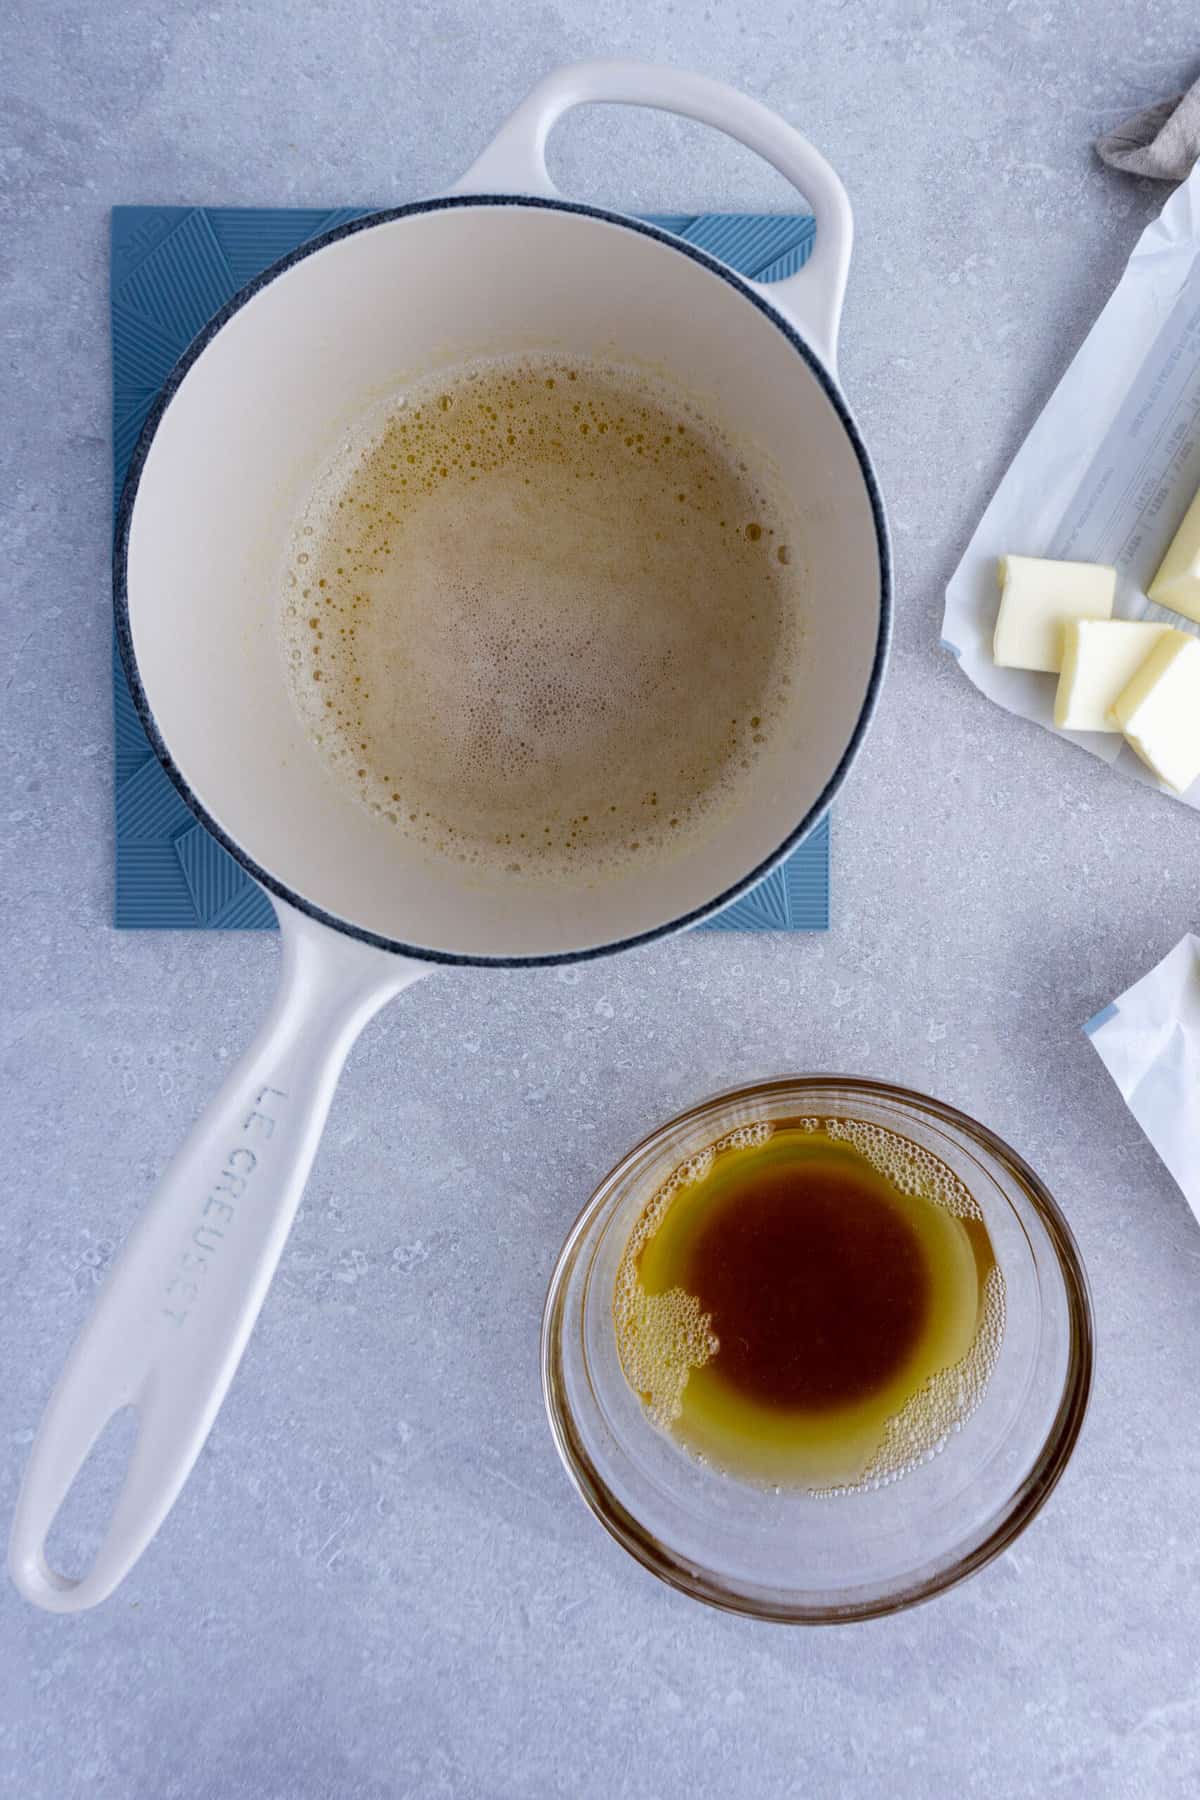
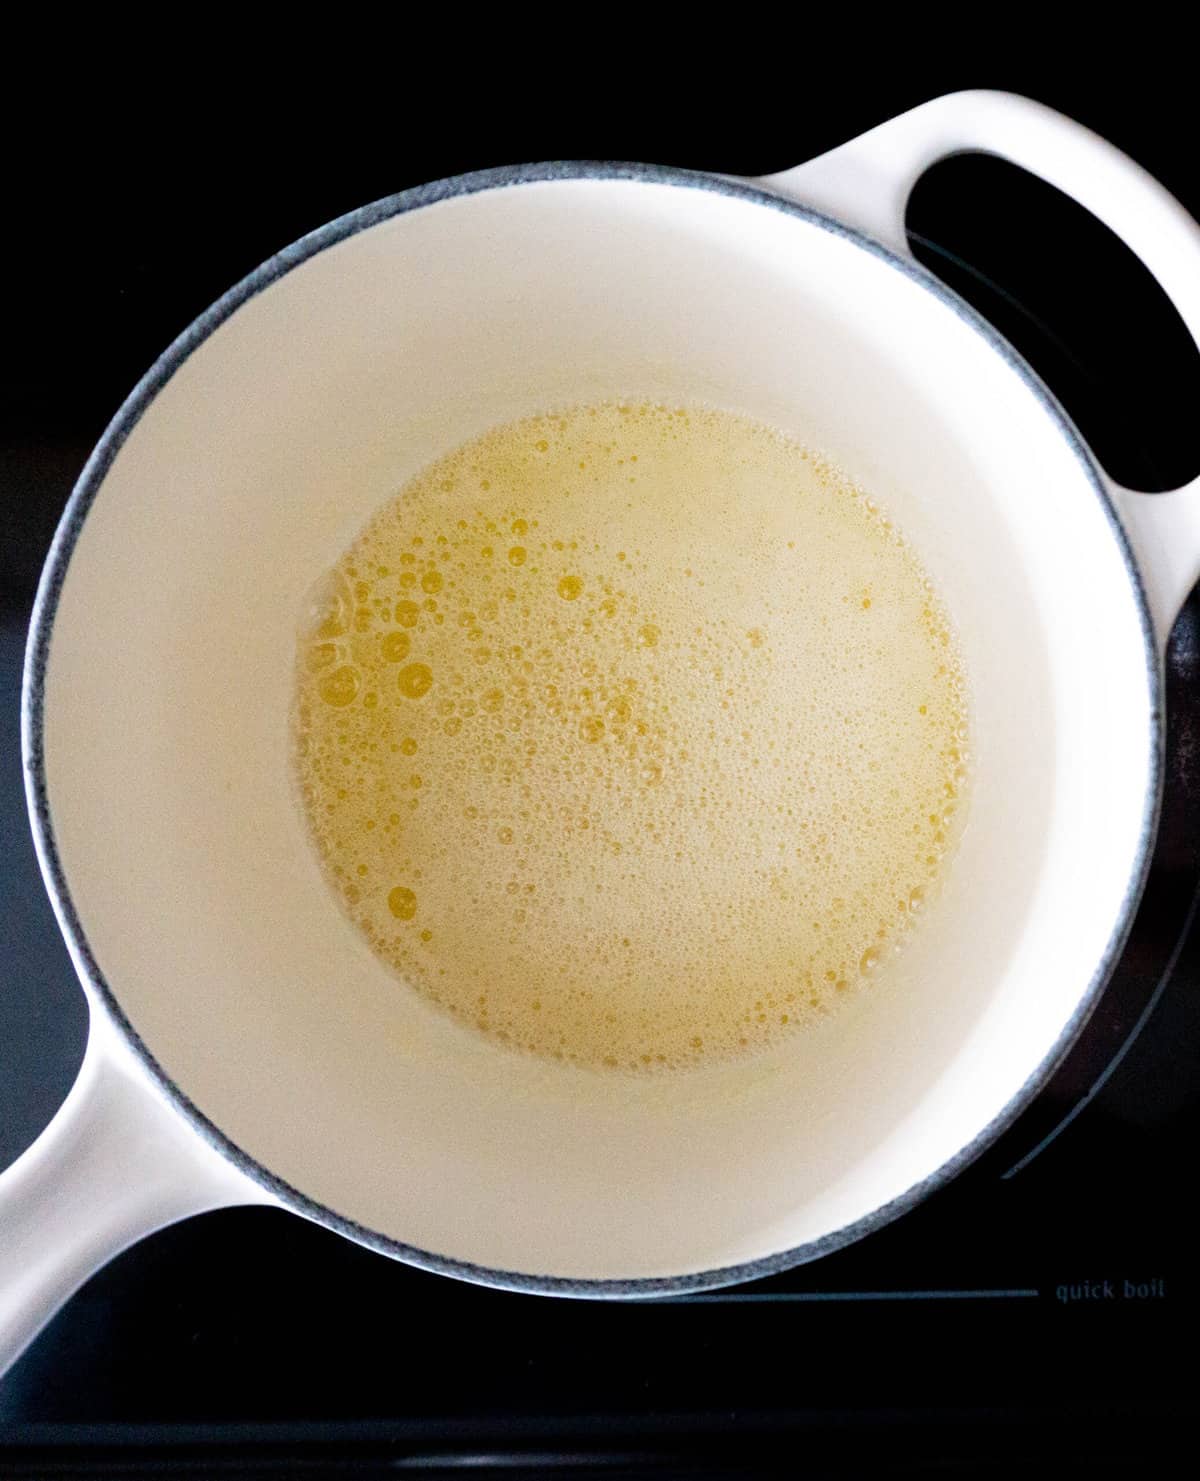
Once the butter gets super foamy, keep an eye on it. From this point it only takes about 5 minutes or less to get evenly browned.
Allow the butter to cool in the fridge overnight until it firms up. Alternatively, you can place it in the freezer for 15-30 minutes, or over a bown of ice to cool as you whip it.

You’ll see all the browned bits on the bottom of the butter, whipping incorporates those into the butter evenly.
To whip the butter by hand, take it out of the fridge or freezer to soften slightly, but not get all the way to room temperature. Then whisk by hand until it is as fluffy as you like.
To whisk with a mixer, you can whip right out of the fridge or freezer until the butter is the consistency you like.
For a spreadable butter:
As you are whipping the butter, slowly drizzle in the oil to incorporate and emulsify it. Make sure all of the oil is incorporated before you finish whisking.
Store the butter in the fridge for up to 14 days (2 weeks) or freeze for longer-term storage.
Hint: it can be difficult to see the bits of butter turning brown when the butter starts foaming. Be sure to keep a close watch on the pan. You can always put the pan back on the heat, but you can’t make the butter less brown once it cooks!
🧈 what is brown butter?
Browned butter is named so because the milk solids in the butter are cooked to a golden brown as the water in the butter evaporates. This caramelizes those milk solids and imparts a warm, toasty flavor. The butter is heated beyond just the point of melting so that the particles actually cook and take on a deep, golden brown color.
The browned bits separate from the rest of the butter, and fall to the bottom of the pan, or container in which it is stored. Allowing the butter to cool and then whipping the butter incorporates all of those nutty golden brown particles evenly throughout the butter. This is helpful if you aren’t using the whole serving size in a batch of cookies or a pasta sauce. It ensures you are getting the best, most flavorful brown butter on every bite.
Wanna save this recipe for later? 📬
♻️ substitutions & variations
- salted butter – you can swap in salted butter for unsalted. Just be sure to taste it before you add any additional salt.
- sweetened – add a tablespoon of brown sugar to make a sweet, nutty, toasted buttery spread that’s sure to make even the blandest slice of bread a standout star.
- smokey – add in smoked maldon sea salt for a subtle smokey flavor.
🧰 equipment needed & storage tips
This recipe is super simple to whip up (sorry…couldn’t resist 😝), you probably already have everything you need to make it!
- small saucepan – use a 1 to 2-quart, heavy bottomed saucepan for the best results. A heavy-bottom saucepan will heat evenly, which is critical for recipes like brown butter, which can take a turn quickly!
- wire whisk – a handheld whisk is perfect for this recipe. You can also use a hand mixer or stand mixer fitted with a whisk attachment.
🫙 storage
Store in an airtight container in the fridge for up to two weeks. You can freeze your whipped brown butter for longer-term storage. You’ll want to re-whip after defrosting or taking it out of the fridge for maximum spreadability. I love storing my browned butter in containers from Wean Green. They are perfect for short or longer-term storage in the fridge or freezer.
🔆 top tip
It might be tempting to multi-task during this process but resist the urge to walk away from the stove. Browning butter happens quickly, and there isn’t much time between browned butter and burned butter.
💭 q+a
What is brown butter?
Brown butter is butter that has been cooked to the point where the milk solids turn a caramelized, nutty, toasty brown. It imparts a delicious flavor to the butter that elevates any dish you choose to make with it–and it’s even great just spread on toast!
Whipping brown butter mixes in all of the toasty bits with the remainder of the butter. As the butter cooks, the browned-bits sink to the bottom of the butter, which isn’t a problem if you’re going to use ALL the butter right away. Allowing the butter to cool and whipping it combines the two layers of butter, and ensures that you get that wonderful, nutty flavor throughout the butter!
The whole process start to finish happens quickly! On average, it will take about 10 minutes to melt and brown the butter. Allowing it to cool could take up to an hour, depending on how firm you want your butter to become before whipping. If you’re pressed for time, you can pop it in the freezer to speed up the cooling process.
You can use this butter in anything that has regular butter as an ingredient. It adds a depth of flavor and warmth to any recipe, from cookies to pasta sauce. And it’s wonderful spread on a slice of freshly baked bread!
Of course! Salted butter will work interchangeably with unsalted butter in this whipped brown butter recipe.
If you make this recipe, please leave a review in the comments and a star rating!
⭐️⭐️⭐️⭐️⭐️
I read every single comment! I also love connecting on social media, so snap a pic and hashtag it #myrecipeforfun and tag me on Instagram, TikTok, or pin this recipe on Pinterest!
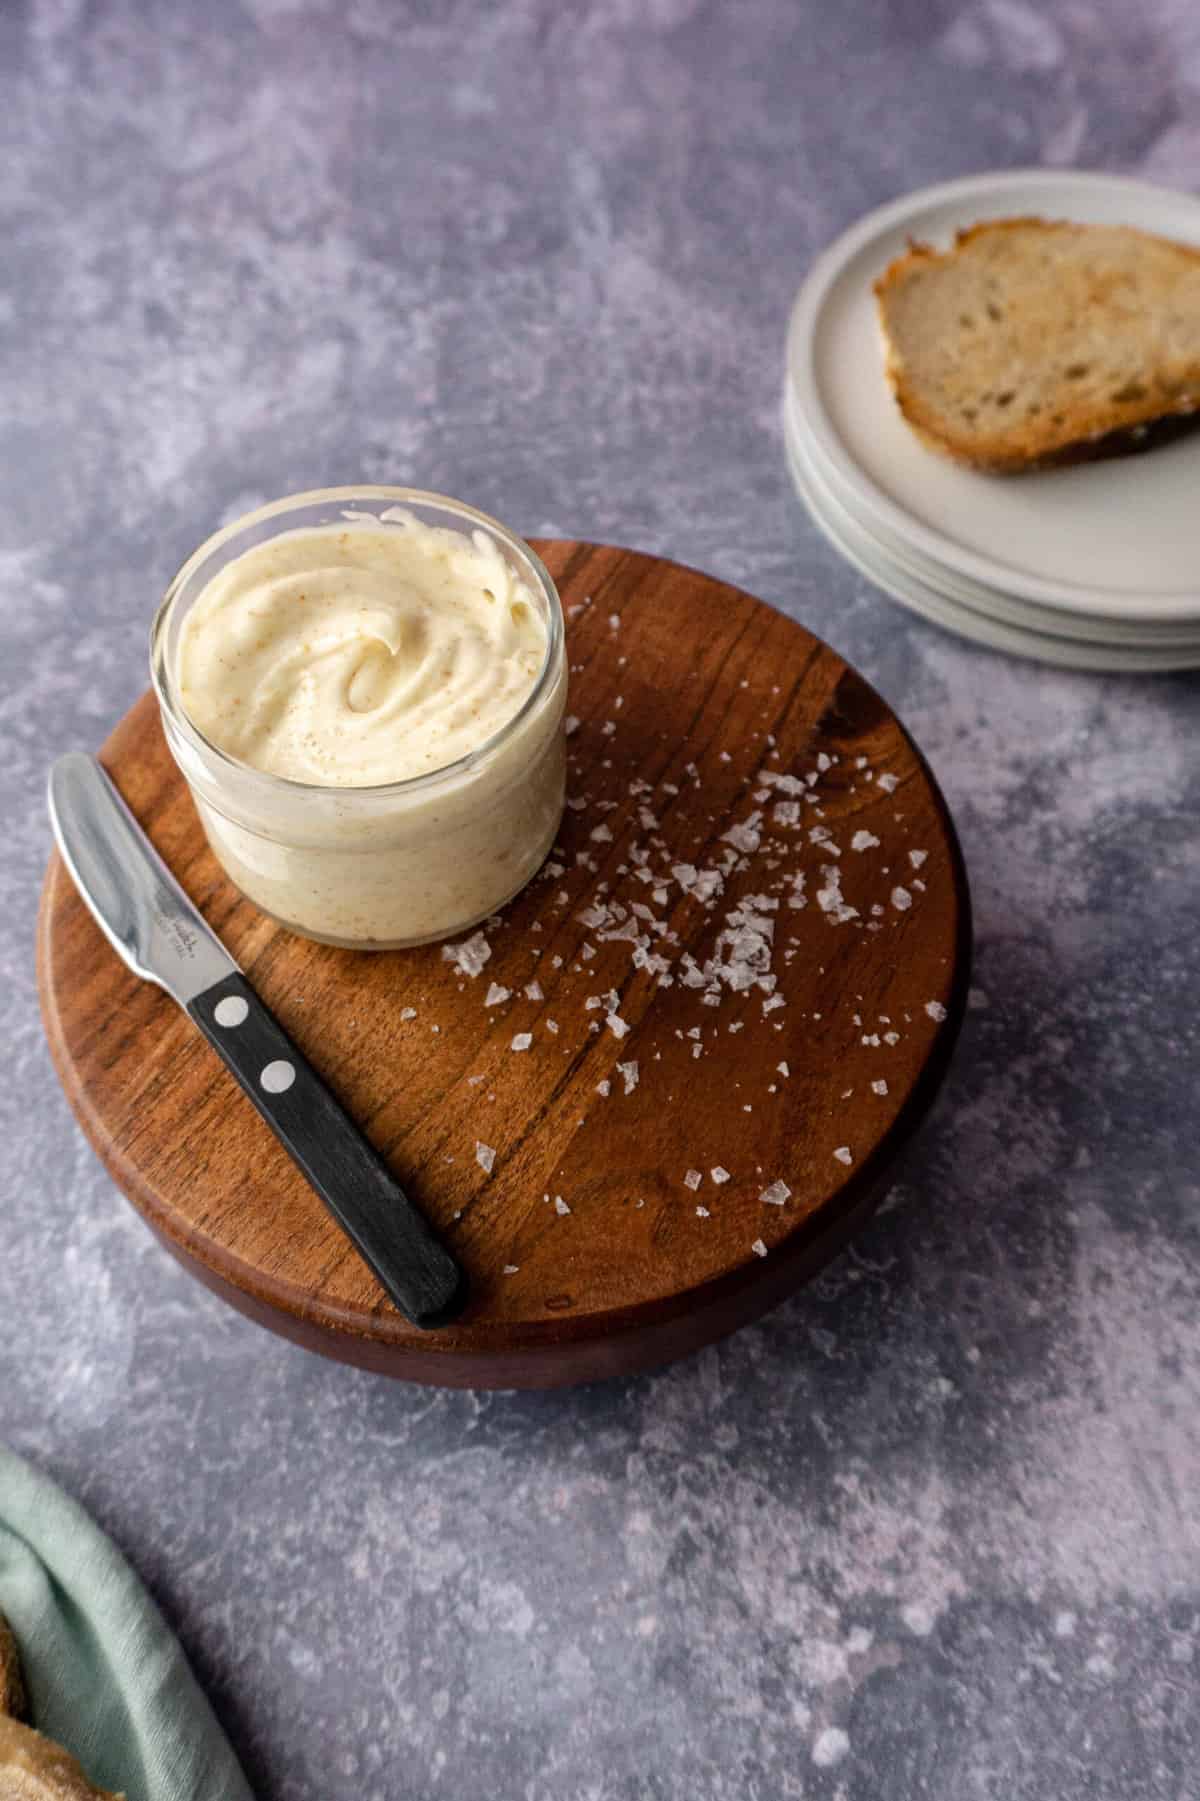
Whipped Brown Butter
Wanna save this recipe for later? 📬
Equipment
- 1 heavy-bottom saucepan
- 1 whisk you may also use a hand mixer or a stand mixer with a whisk attachment
Ingredients
- 113 grams butter unsalted, one stick
For a Spreadable Butter
- 2 ounces mild oil such as mild olive oil or avocado oil
- flaky sea salt to taste
Instructions
For a Classic Whipped Brown Butter
- Heat a heavy-bottom saucepan over medium-low heat, and add 113 grams (1 stick) of butter to the pan.
- Once the butter melts, stir intermittently with a silicone spatula until the butter begins to bubble and foam.
- When the butter starts foaming and frothing, keep stirring, scraping the bottom of the pan to keep an eye for the milk solids starting to brown. If you can't see through the foam, remove the pan from the heat until the foaming stops. You can easily return the pan to the heat if it's not quite done yet!
- Once the butter browns, remove the pan from heat and allow the butter to cool before placing it in an airtight container in the fridge to firm up.
- When the butter is firm, whip it using a wire whisk or mixer to incorporate the browned bits that have separated from the rest of the butter.
- Use immediately, or store in an airtight container for up to two weeks in the fridge. You may also freeze the butter for up to a month.
For a Spreadable Whipped Brown Butter
- Prepare the butter in the same manner as the above recipe, allowing the butter to cool in the fridge until firm.
- Rewhip the butter to combine the browned bits.
- Slowly drizzle in the oil, making sure it's fully incorporated into the butter.
- Use immediately, or store in an airtight container for up to two weeks in the fridge. You may also freeze the butter for up to a month.