Strawberries and lemons are a true match made in dessert heaven, and this recipe for strawberry lemon bars is like kickin’ back with a refreshing strawberry lemonade on a warm spring day. It combines the smooth and buttery flavors of shortbread with the zingy tartness of lemon, and it’s topped with the sweet floral flavor of strawberries. If you like your desserts to have a play on sweet and sour, this recipe is for YOU!
Jump to Recipe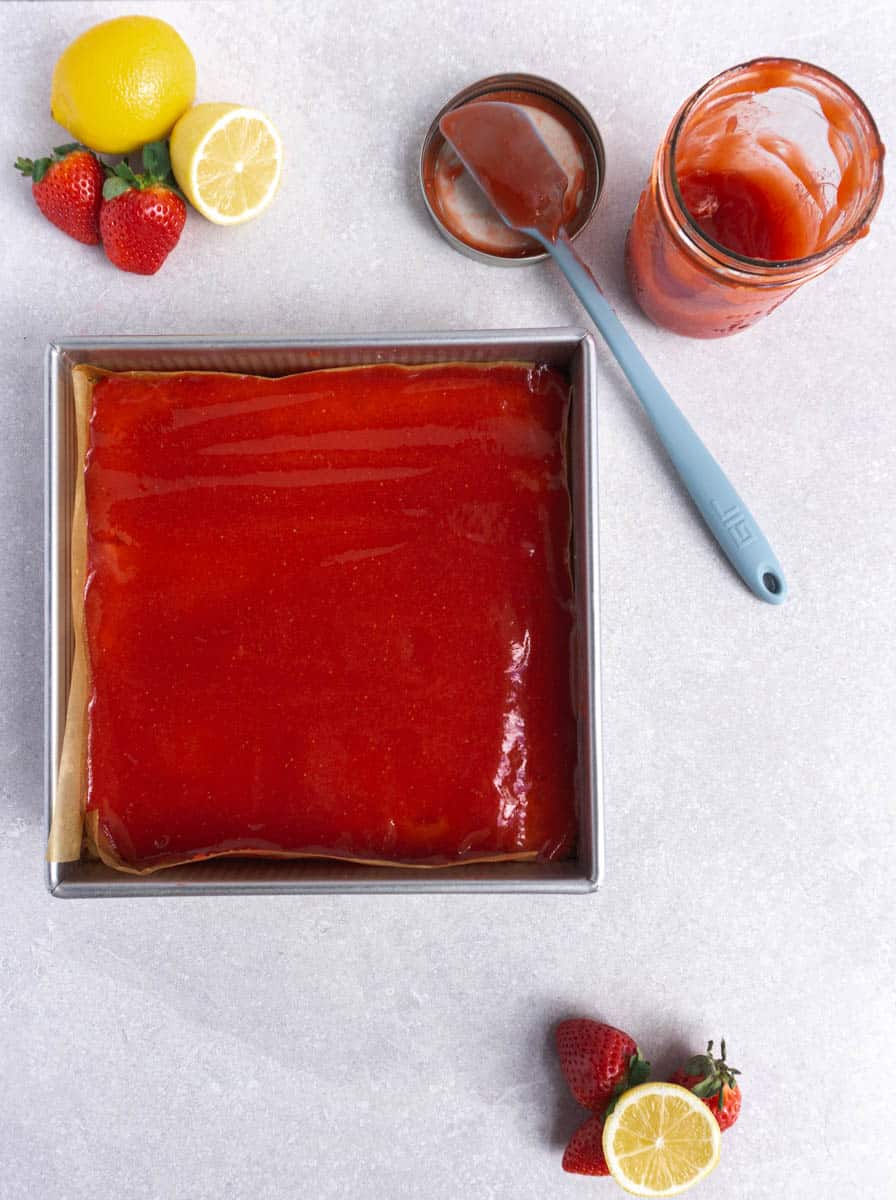
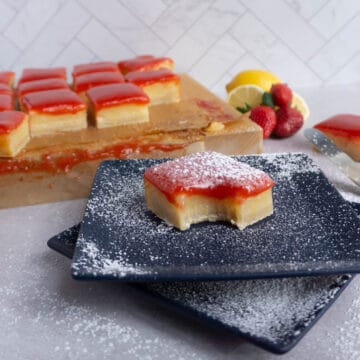
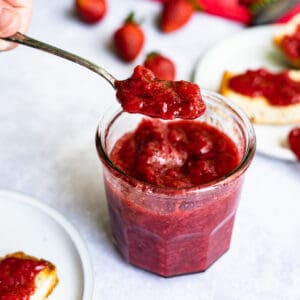
This dessert was honestly created out of necessity. I bought way too many strawberries during strawberry season. So, as one does, I turned all the strawberries into jam. I was also testing my lemon bar recipe, and decided I needed to see the color combination of lemon yellow and strawberry red. So, I slathered the jam on top of the baked lemon bars (trust me on this…I tried layering the jam first, then baking the lemon layer...and it wasn’t the prettiest result, but still tasty). The result is a STUNNING dessert that looks like it took a lot more effort than it did. Bring these to any spring or summer gathering and be prepared to be asked for the recipe. A lot.
ingredients
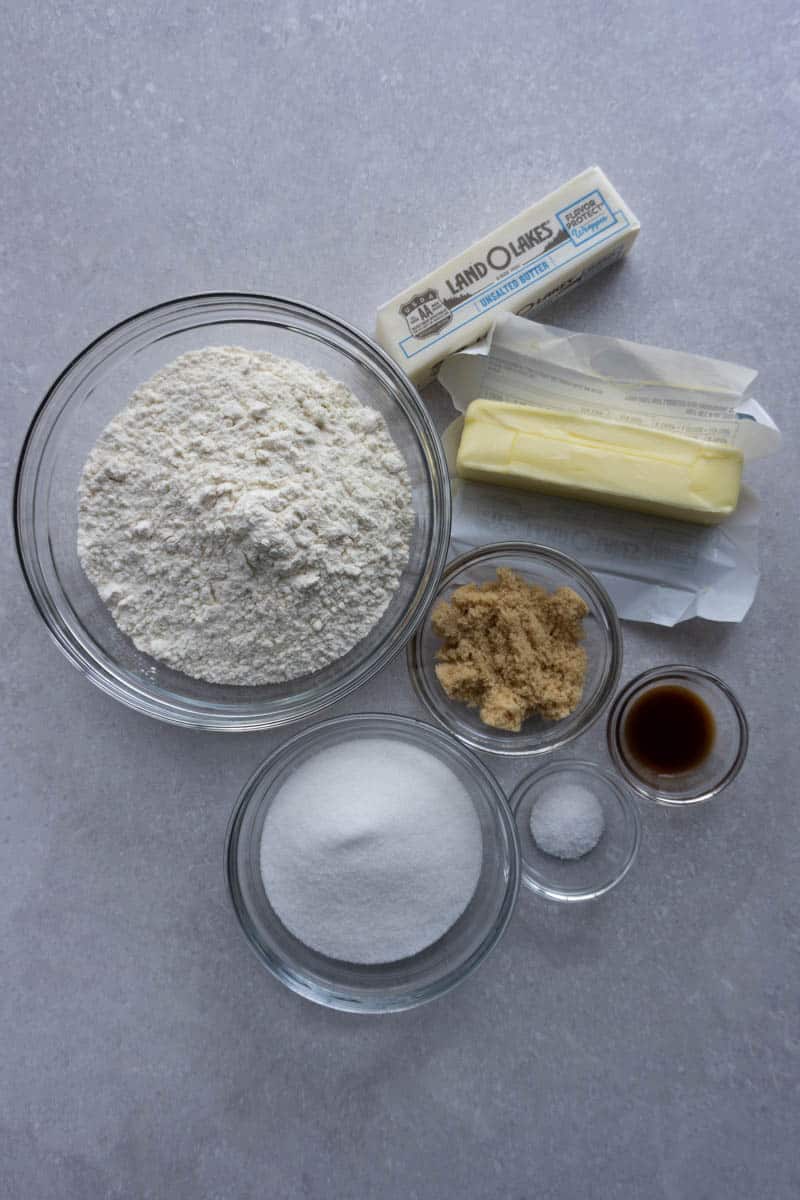
These strawberry lemon bars can be made with just a few seasonal add-ons to basic pantry staples! You likely have most of the ingredients already.
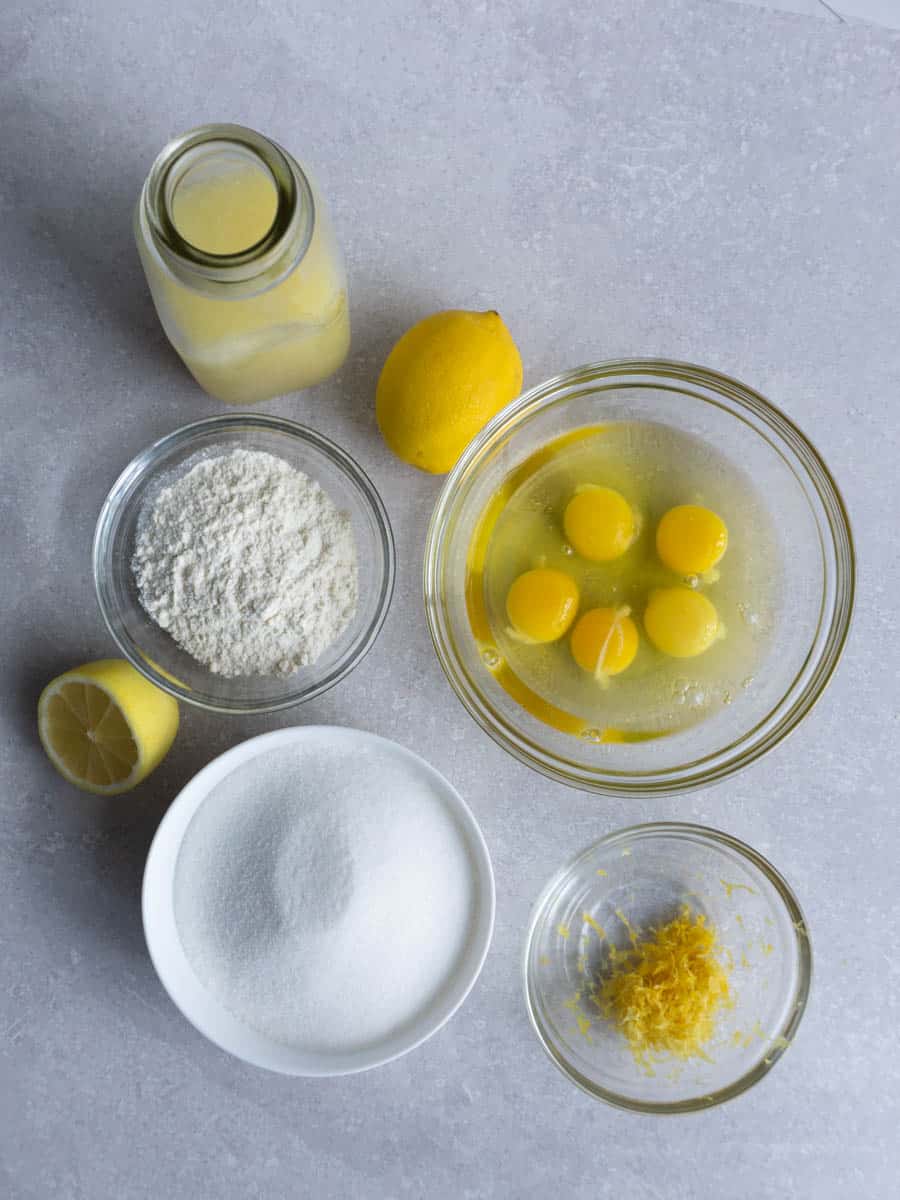
- Lemons
- Eggs
- Flour
- Butter
- Granulated sugar
- Light brown sugar
- Vanilla Extract
- Salt
- Strawberry Jam
See recipe card for quantities.
instructions
There are two parts to this recipe: the crust, and the filling. Technically, there could be up to three parts if you intend to make your own strawberry jam (which I highly recommend giving a try).
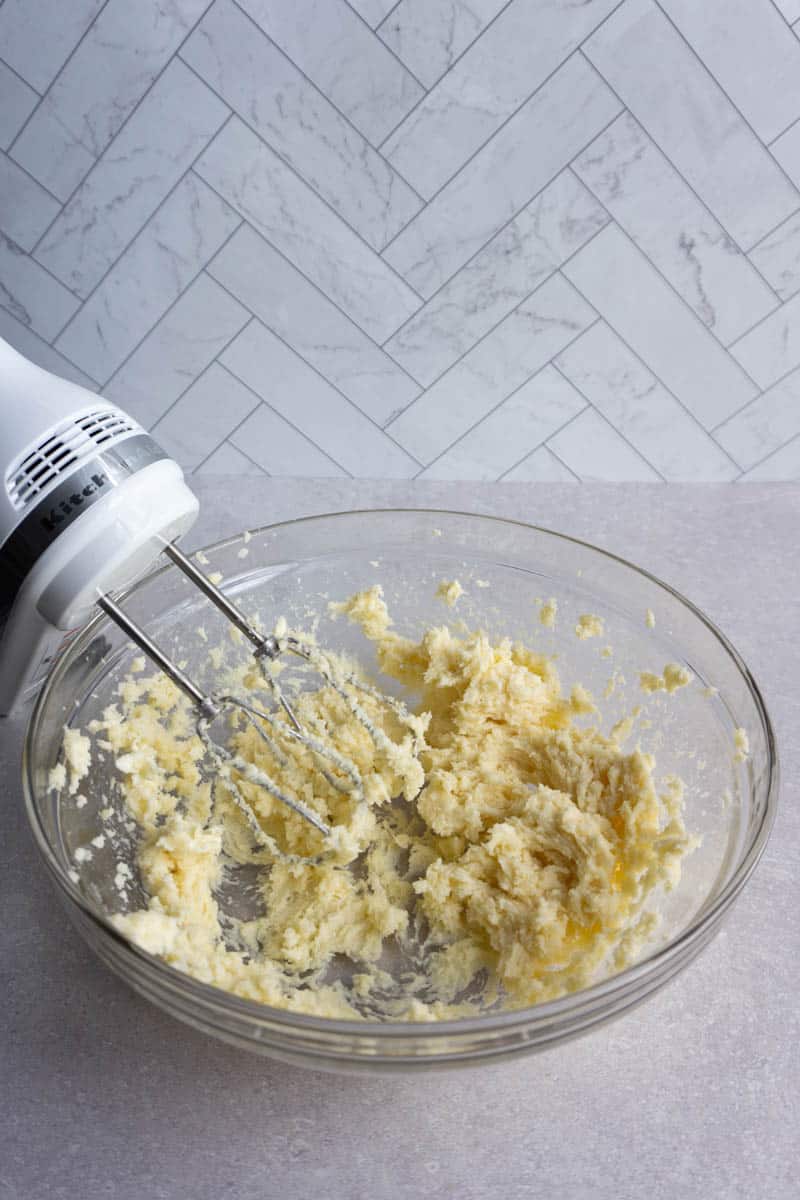
First, mix the ingredients for the crust by combining the sugars, butter, vanilla, salt, and flour.
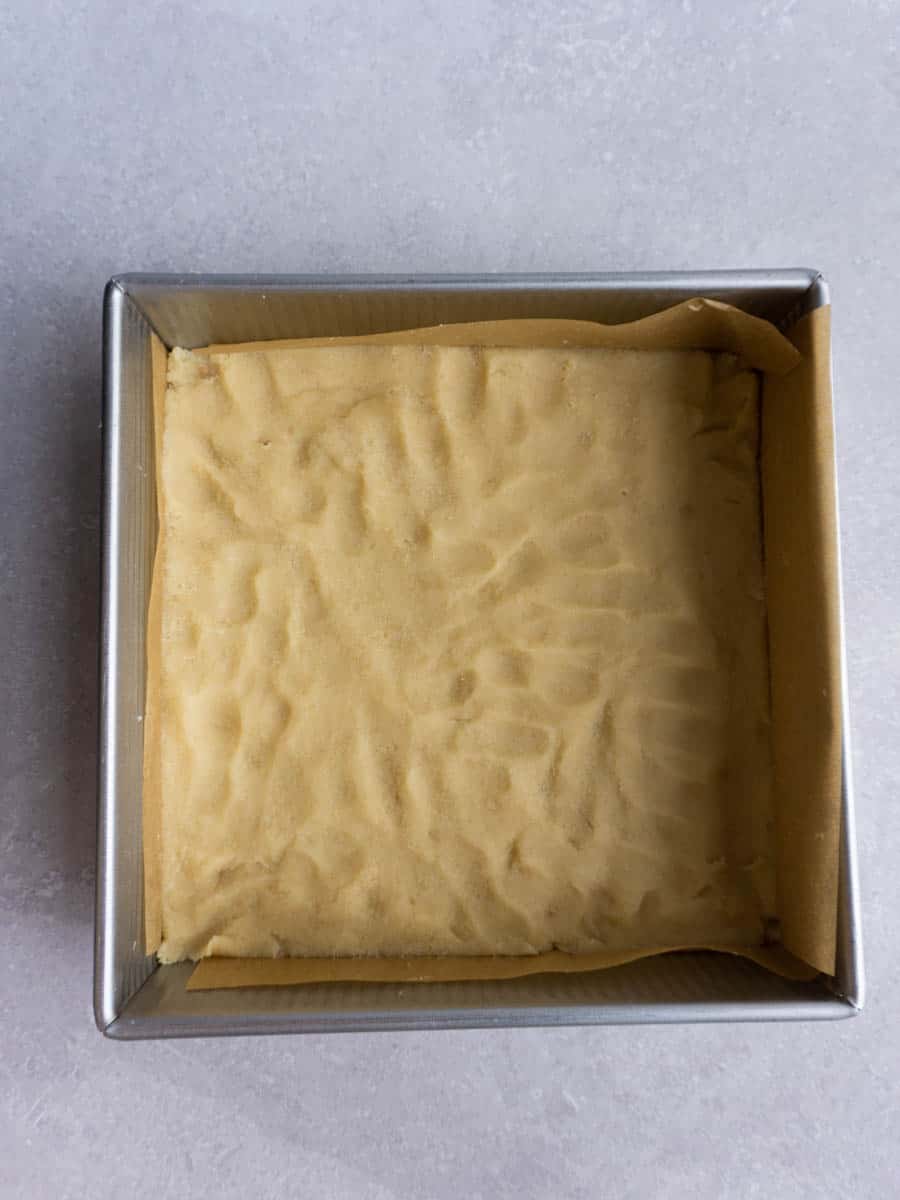
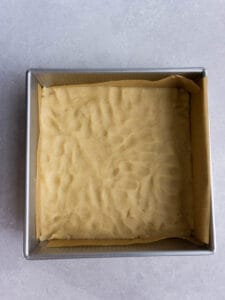
Press the crust dough into the baking pan, lined with parchment paper for easy removal (see the equipment section for a more detailed description). Bake for 15 - 20 minutes at 350ºF.
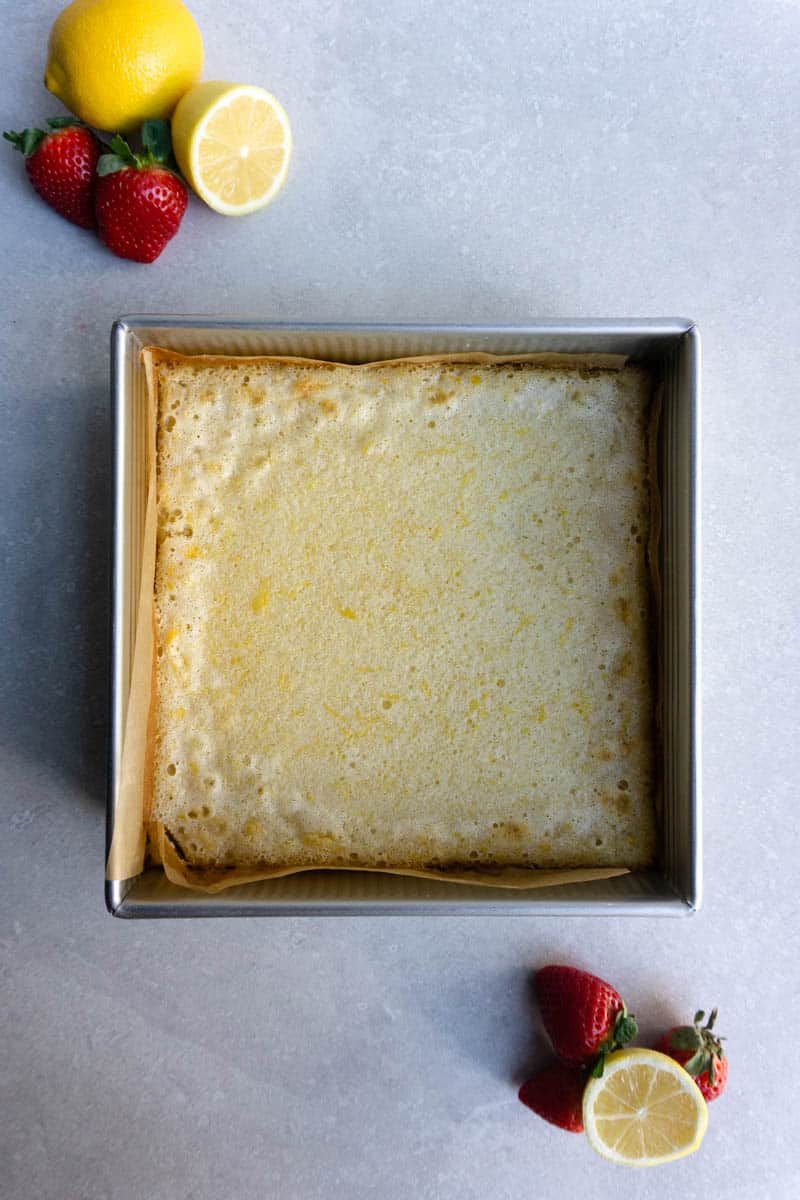
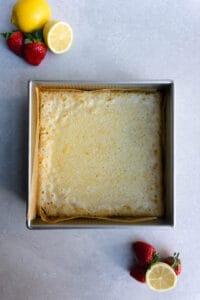
Allow the crust to cool while you whip up the lemon filling mixture, then pour it over the cooled crust and return the pan to the oven for 30 - 35 minutes, until the center is no longer jiggly.

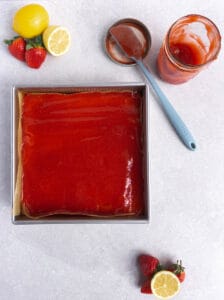
Once baked, allow the bars to cool in the pan until they are no longer warm. Then, add the jam layer and return to the fridge to allow the jam to set a bit before slicing. You can also remove them from the pan, then freeze the block of bars before slicing for neater cuts!
Hint: Line your pan with parchment paper to help get the bars out of the pan easier. I love to use these parchment sheets— they are perfectly sized to place into an 8 x 8 inch pan!
substitutions
- Almond flour - the crust for this recipe is pretty versatile, so you can swap almond flour if you like to give the crust a nutty flavor. It pairs super well with the lemon and jam flavors!
- Switch up the jam layer - use whatever jam you have on hand—blackberry or cherry would also work wonderfully in combination with the lemon bars!
- Omit brown sugar - you can use all granulated sugar in the crust if you don't have light brown sugar on hand!
variations
Try these variations, or comment below with your own!
- Jam-less - skip the jam layer for classic lemon bars!
- Extra-zesty - add a bit of lemon zest to the crust for a punch of citrus flavor!
- Lime juice - swap lemons for limes in this recipe, and you’ve got a strawberry-limeade bar on your hands!
- Gluten-Free - No gluten? No problem! Check out this recipe from King Arthur Baking. Simply add the jam of your choice on top of these bars once baked!
equipment
Here's a list of the special equipment needed in order to bake these strawberry lemon bars. I've included some affiliate links to my favorite tools.
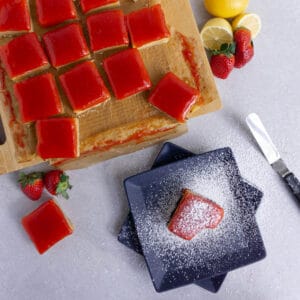
- Fine Mesh Strainer - a fine mesh strainer has SO many uses in the kitchen. In this recipe, I use it as a sifter for keeping lumps out of the flour. As a bonus, you can use it to dust on powdered sugar just before serving.
- 8 x 8 inch metal baking dish - I recently started upgrading my baking pans to USA pan varieties and I noticed an immediate improvement in my baked goods! The even heat of a metal pan ensures your recipe is baked well without overheating in hotspots. But...I would still advise the use of an oven thermometer! 😉
- Mixing bowls - I have always been obsessed with this set of nesting bowls from Duralex. They are perfect for every step of the cooking and baking process. You also might want to check out this "pinch bowl" set for portioning ingredients. It really does make you feel so much more professional in the kitchen!
- Hand mixer - While it's not completely necessary, this hand mixer from KitchenAid is a "nice-to-have" kitchen item for quick-to-make desserts like these lemon bars!
- Parchment paper sheets - I used to buy rolls of parchment paper, but now I keep these sheets on hand. This set of quarter-sheet-sized parchment paper cutouts is perfect for the 8 x 8-inch baking pan! Simply layer them in the shape of a plus sign (+), and when it's time to remove the lemon bars, they pop out so much easier. You might need to use an offset spatula to help jiggle any ends out. Just remember to avoid sharp objects in your pan!
storage
Store your strawberry lemon bars in the fridge for up to a week, or freeze them for up to 3 months! Make sure to let them thaw overnight in the fridge before serving if frozen.
Top tip
While you can use a glass or ceramic baking dish, I recommend using metal because of the even heat distribution. Sometimes when I make lemon bars in a glass baking dish, the top cracks during baking due to uneven heat.
q+a
This is because of the eggs in the filling! When heated, air that was whipped into the custard mix rises to the top in the form of bubbles. This is completely normal and will not affect the flavor of your bars. Plus, it will be covered by the jam layer!
Yes! Feel free to use whatever jam you have on hand. One of my instagram followers shared that they had a surplus of rhubarb jam, and I think that would work wonderfully on these bars!
Absolutely not! You can make this whole recipe by hand! You can mix the crust up like a pie dough in a mixing bowl by hand. Just be sure to use a whisk (or a fork!) for mixing the filling, and sift in the flour so there are no lumps in the filling mixture.
Yes. These bars need to be kept in the fridge to stay fresh. They also freeze well for longer storage!
recipe
If you make this recipe, please leave a review in the comments and a star rating!
⭐️⭐️⭐️⭐️⭐️
I read every single comment! I also love connecting on social media, so snap a pic and hashtag it #myrecipeforfun and tag me on Instagram, TikTok, or pin this recipe on Pinterest!
🥣 recipe
Strawberry Lemon Bars
Equipment
- 1 hand mixer may use stand mixer, or mix by hand with a whisk
Ingredients
Crust
- 227 g butter 2 sticks, unsalted and softened
- 110 g granulated sugar
- 28 g light brown sugar
- 240 g all-purpose flour
- 4 g vanilla extract
- 2 g salt kosher, Diamond Brand
Filling
- 5 whole eggs large
- 1 cup lemon juice from 5-6 lemons
- 1 tablespoon lemon zest from 2 lemons
- 2 cups granulated sugar
- ½ cup all-purpose flour sifted
Instructions
Crust
- Preheat oven to 350ºF.
- Line an 8 x 8-inch pan with parchment paper.
- In a mixing bowl, cream together the 227 g (2 sticks) softened butter, 110 g (½ cup) granulated sugar, and 28 g (2 tbsp) light brown sugar until well combined.
- Add 4 g (1 tsp) vanilla extract and mix to combine.
- Add in the 240 g (2 cups) all-purpose flour and 2 g (½ tsp) kosher salt, and mix until just combined. The dough will look like blobs of wet sand!
- Press the dough into the pan lined with parchment paper, trying to get as even a layer as possible. The crust layer should be about ¼-inch thick.
- Bake for 15 - 20 minutes, until the crust is lightly browned along the edges, but not completely baked.
- Allow to cool in the pan, on a cooling rack for at least 30 minutes before pouring the filling layer.
Filling
- While the crust is cooling, add 5 large eggs to a mixing bowl with 400 g (2 cups) sugar and 1 tablespoon lemon zest. Mix to combine.
- Pour in 1 cup of lemon juice and mix thoroughly. The mixture will be light and frothy.
- Sift in 60 g (½ cup) of flour, and carefully mix together, making sure there are no lumps.
- Pour filling mixture over top of cooled crust.
- Return to the oven and bake at 350ºF for 30 - 35 minutes, or until the filling is no longer jiggly in the middle.
- Remove from the oven and allow the bars to cool completely before proceeding to layer the strawberry jam. This could take up to 2 hours on the countertop, depending on the temperature of your house.
Layering the jam
- Once the bars are cooled, spread your strawberry jam of choice on to the top of the lemon bars.
- Remove the bars from the pan by gently lifting at the parchment paper. If any filling has seeped into the pan, you may need to use an offset spatula to help release the bars. Do not use a sharp knife inside your pan for this step!
- Once the bars are out of the pan, slice into 12 bars. Wipe your knife between cuts to keep the bars clean, or freeze the entire sheet of bars for 15-30 minutes to make slicing easier.
- Store the strawberry lemon bars in the refrigerator for up to 1 week, or freeze for up to 3 months.


Leave a Reply