


This easy Italian limoncello recipe is sweet, tart, zesty, and refreshing. Making your own limoncello liqueur means that now, it’s simpler than ever to bring the sunny taste of la dolce vita straight from the Amalfi coast to your own home (and it’s better than anything you can buy stateside, too). The hardest part about this recipe is waiting for it to be done!
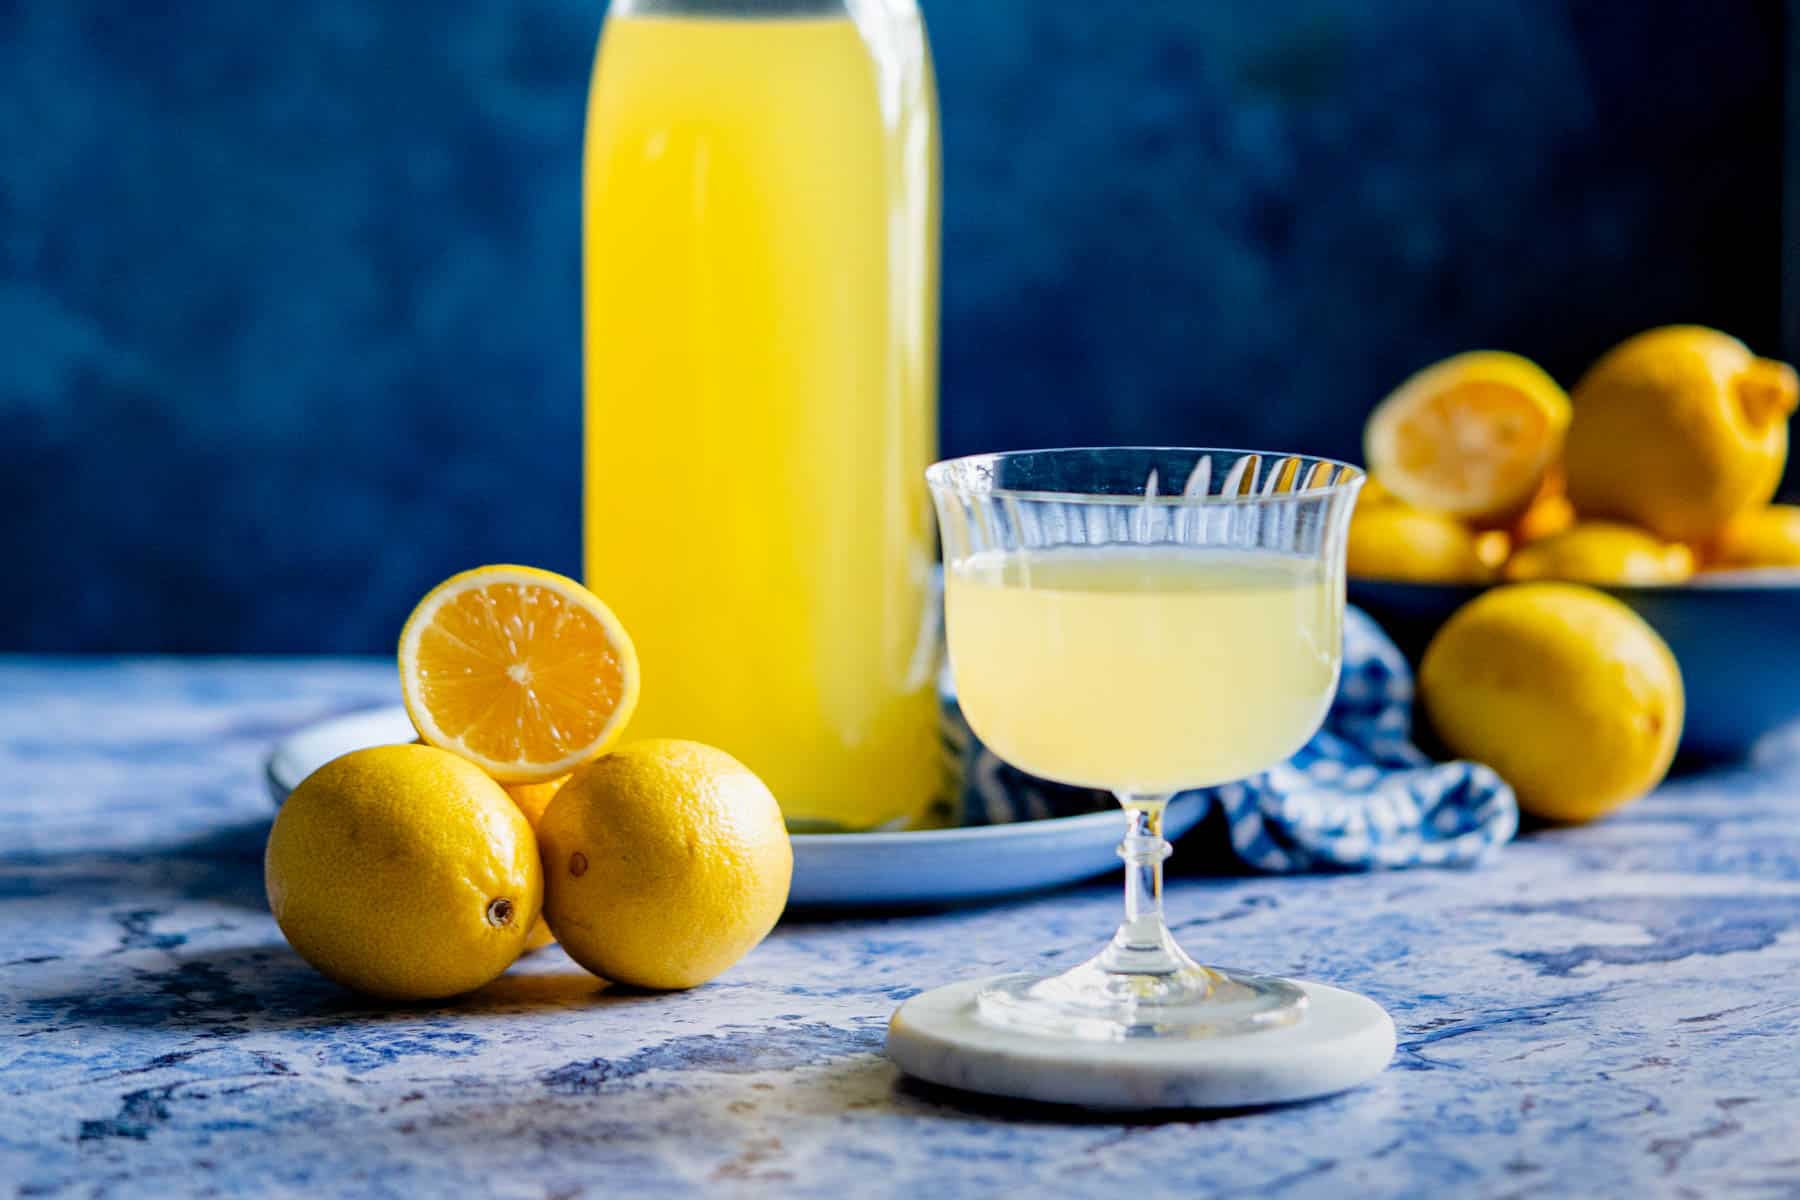
Growing up with a grandma from southern Italy means you learn a LOT about important elements of Italian life. Citrus liqueurs like limoncello and arancello rossa, a blood orange liqueur, have a prominent home in Italian culture. Thankfully, it’s not that complicated to make your own homemade liqueurs– really, it just takes a bit of time! With a little patience and a few simple ingredients, you’ll have your own lemon liqueur to use in cocktails at home!
While it’s probably most well-known for being an ingredient in a classic limoncello spritz cocktail, in Italy, it’s common to enjoy limoncello on it’s own after a meal. You can also use it in many other cocktails to add a burst of lemon flavor, like a limoncello martini or a limoncello liqueur margarita!
👀 the secret sauce…
✨ the flavor: This recipe hits The Pop, The Wow, Mom!, and The Feels Flavor Factors. It’s got a vibrant and bold lemon flavor like a sip of sunshine from the coast of southern Italy, and you won’t believe you can make this at home!
🎯 the method: The traditional slow-infusion process is what helps get flavor here. We do a long infusion in high-proof liquor, then finish with a lemon-infused syrup for an extra dose of zesty flavor.
🏆 the win: More intense flavor than highlighter-yellow storebought bottles, and a low-lift process that is mostly hands-off!
what are The Flavor Factors?
The Flavor Factor Framework is my lil set of “flavor guideposts” for cooking with confidence! Less following recipes to a tee, more trusting your instincts, getting creative in the kitchen, and becoming a more intuitive cook! 👩🏻🍳
🛒 ingredients
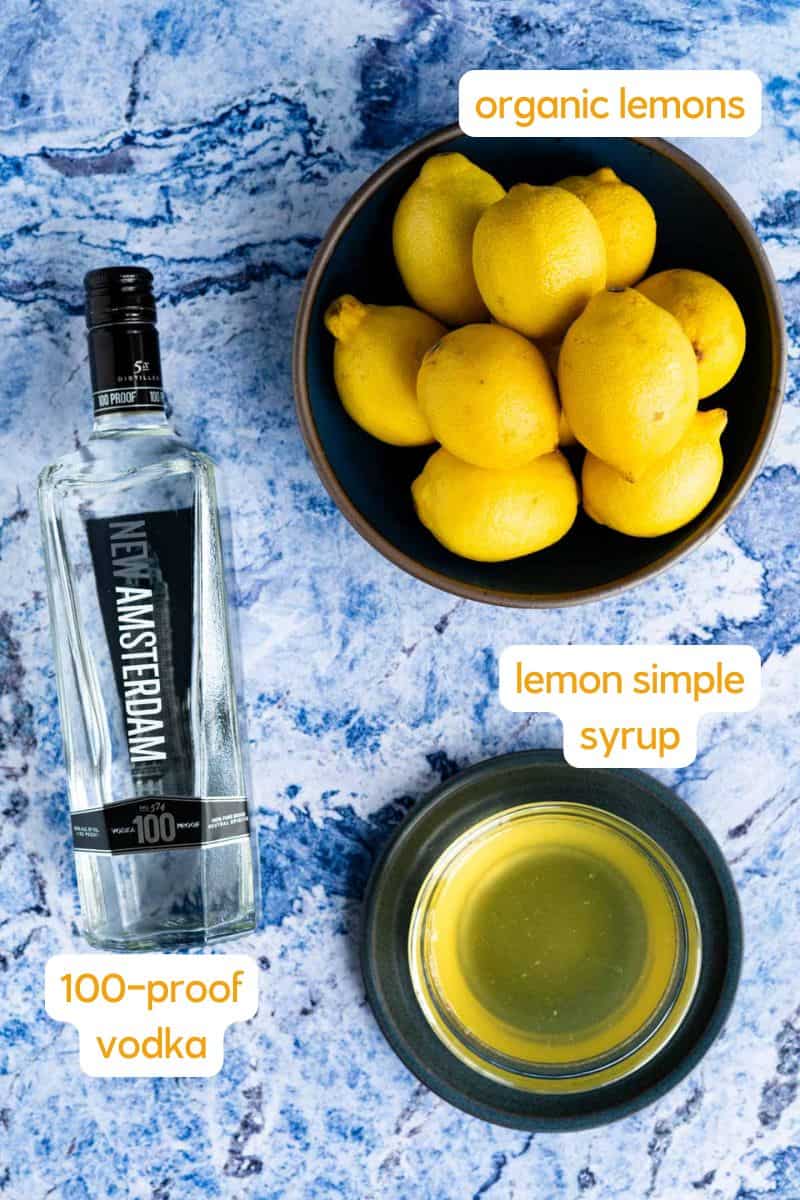
See the recipe card for the exact quantities.
🍳 how to make limoncello at home
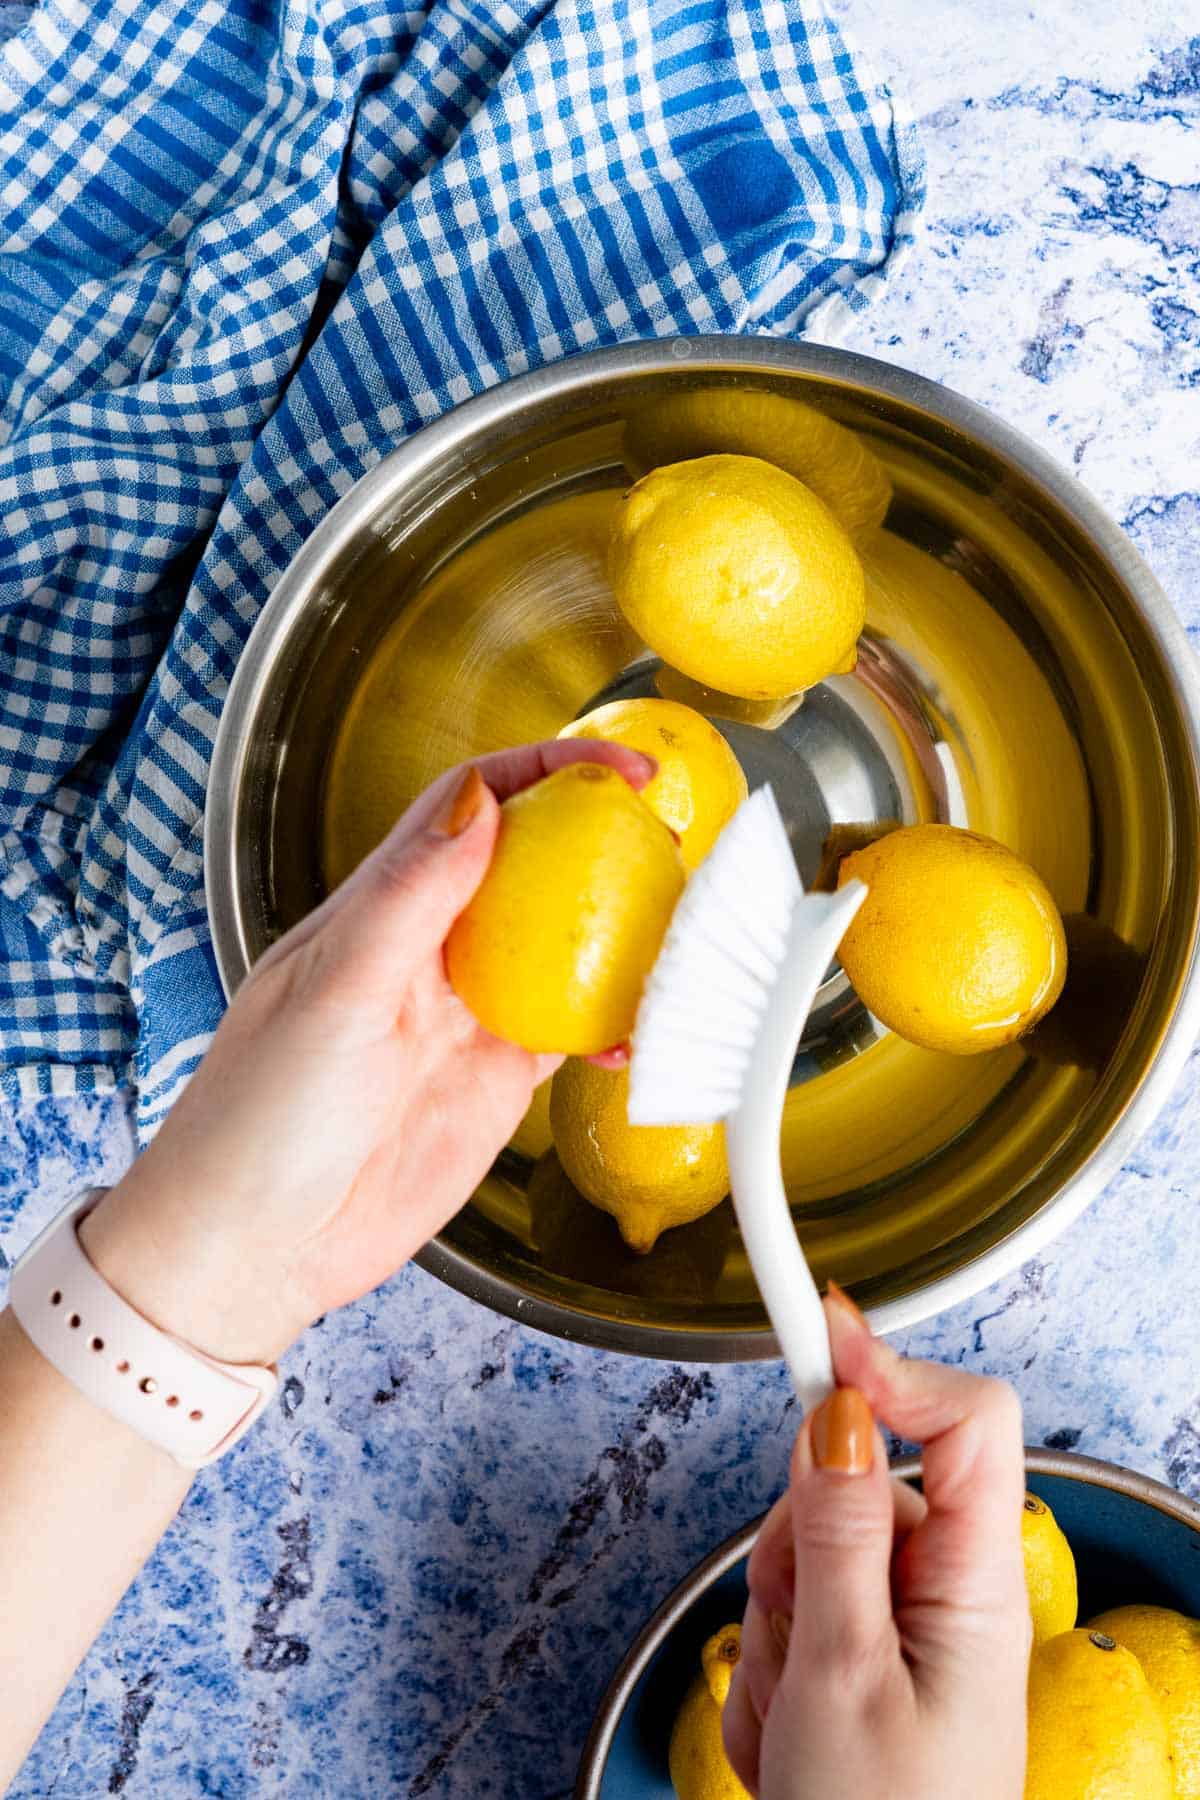
1: Throughly clean your lemons to remove any dirt or impurities from the skin. Since we are using the zest, you’ll want to make sure your lemons are really clean.
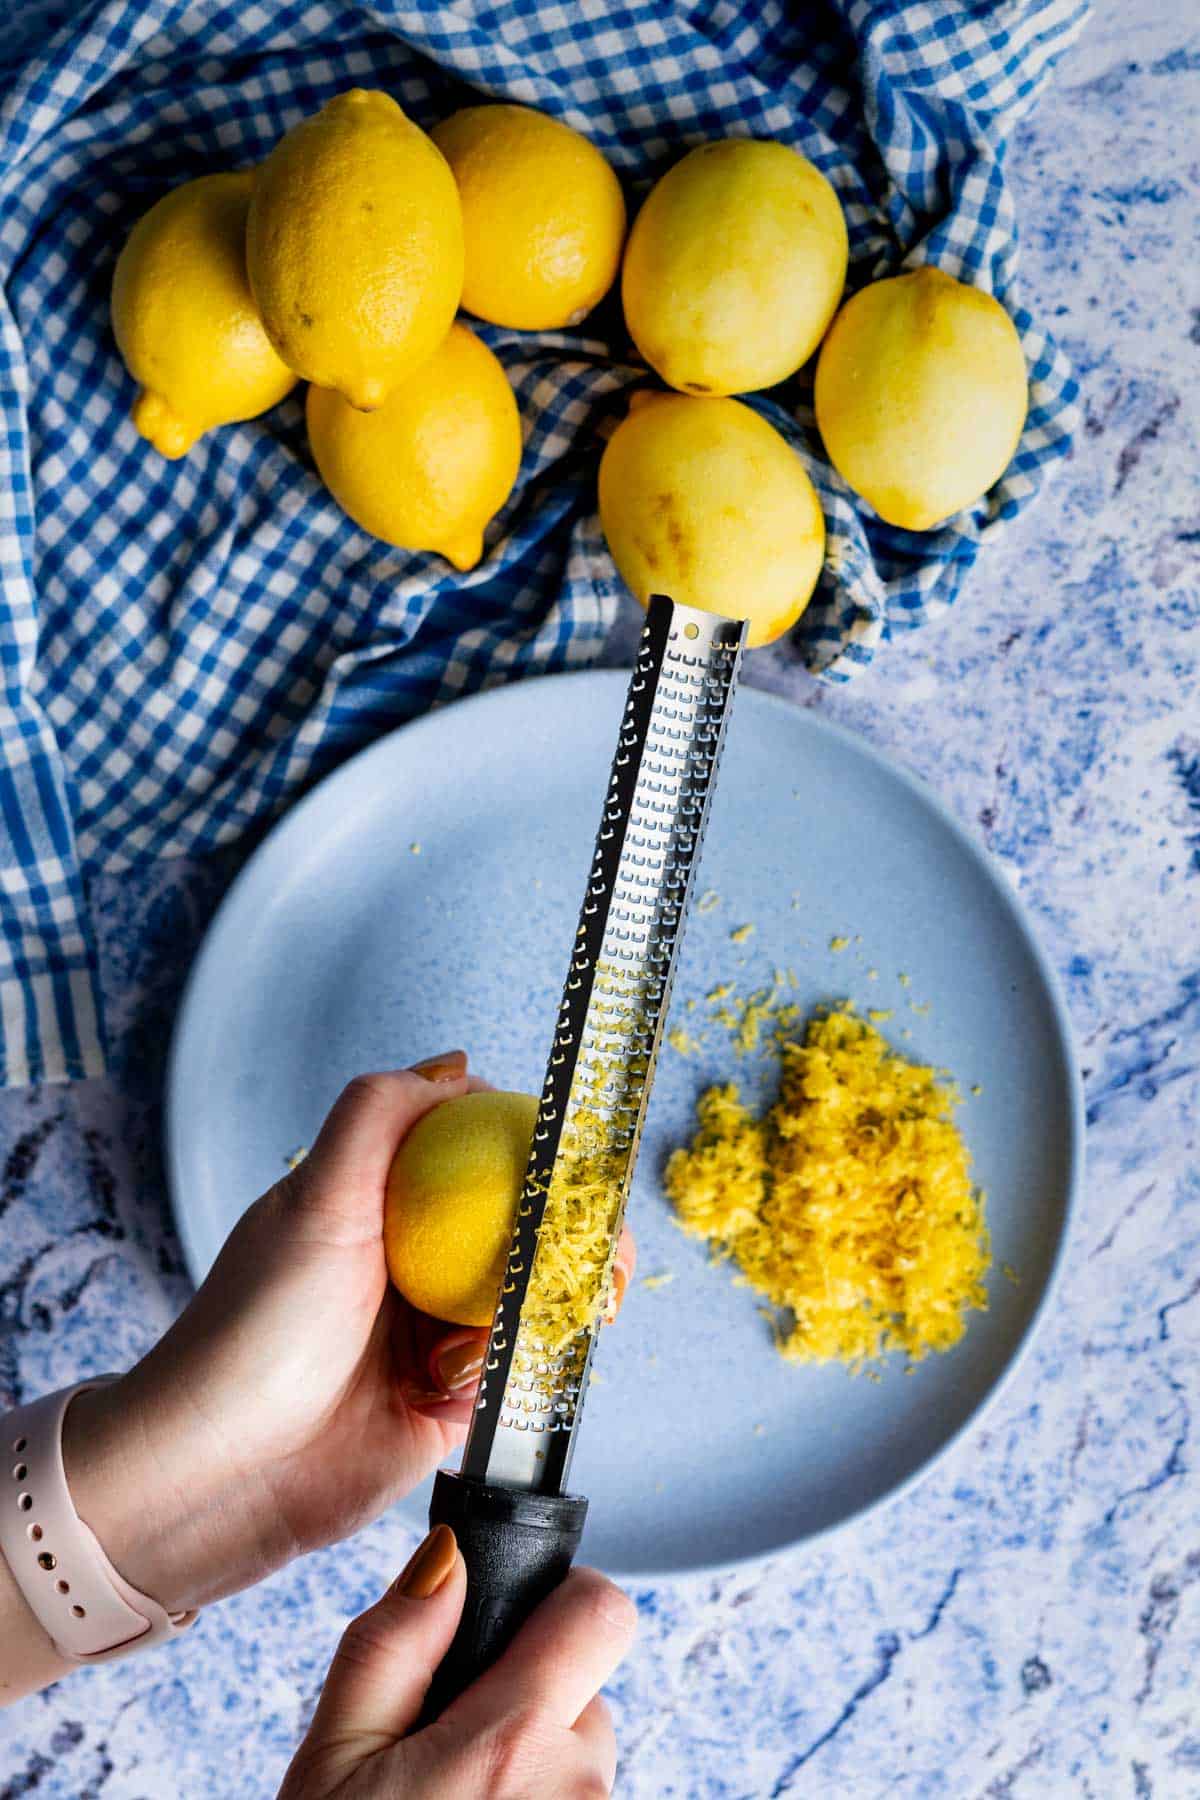
2: Zest your lemons using a microplane grater, using care to only remove the zest, not the bitter white pith.
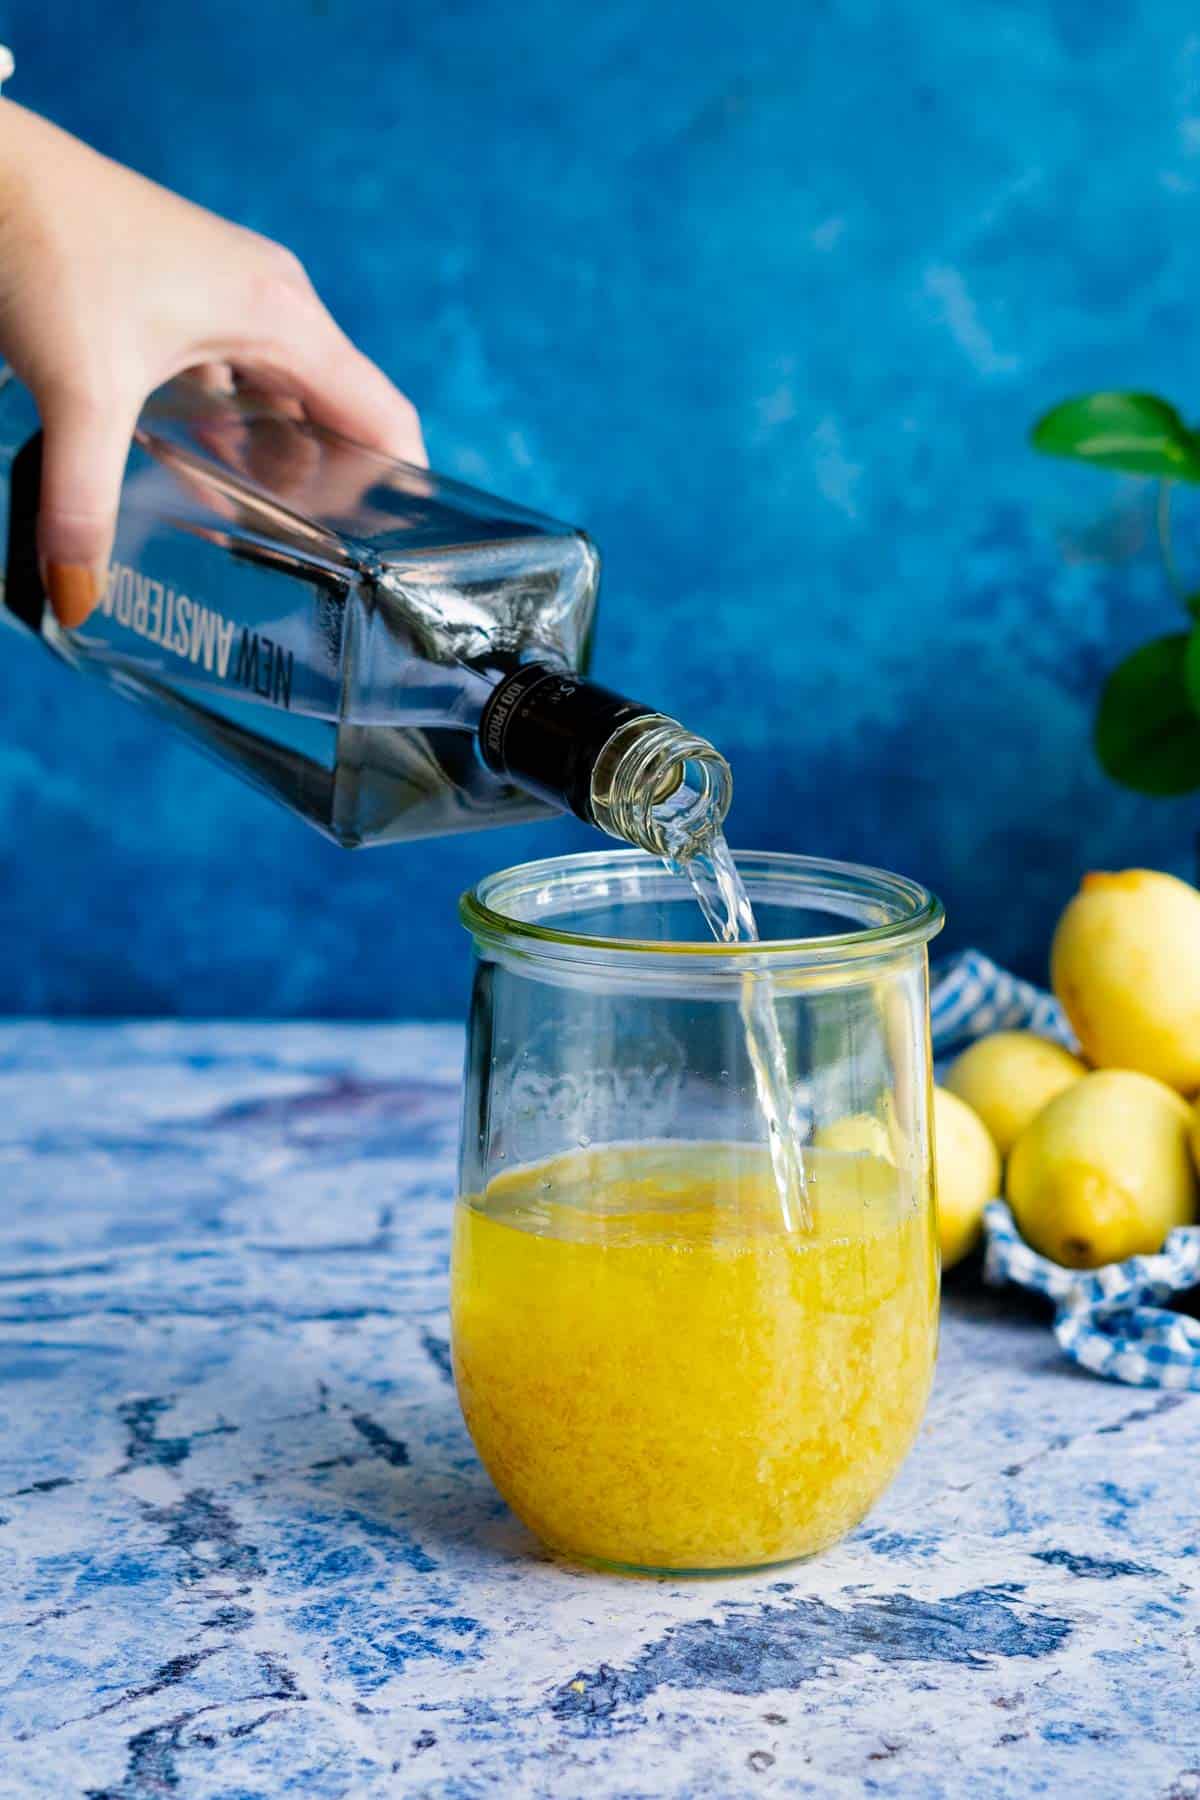
3: Place the zest in a large infusion jar, then slowly pour your high-proof vodka overtop of the zest.
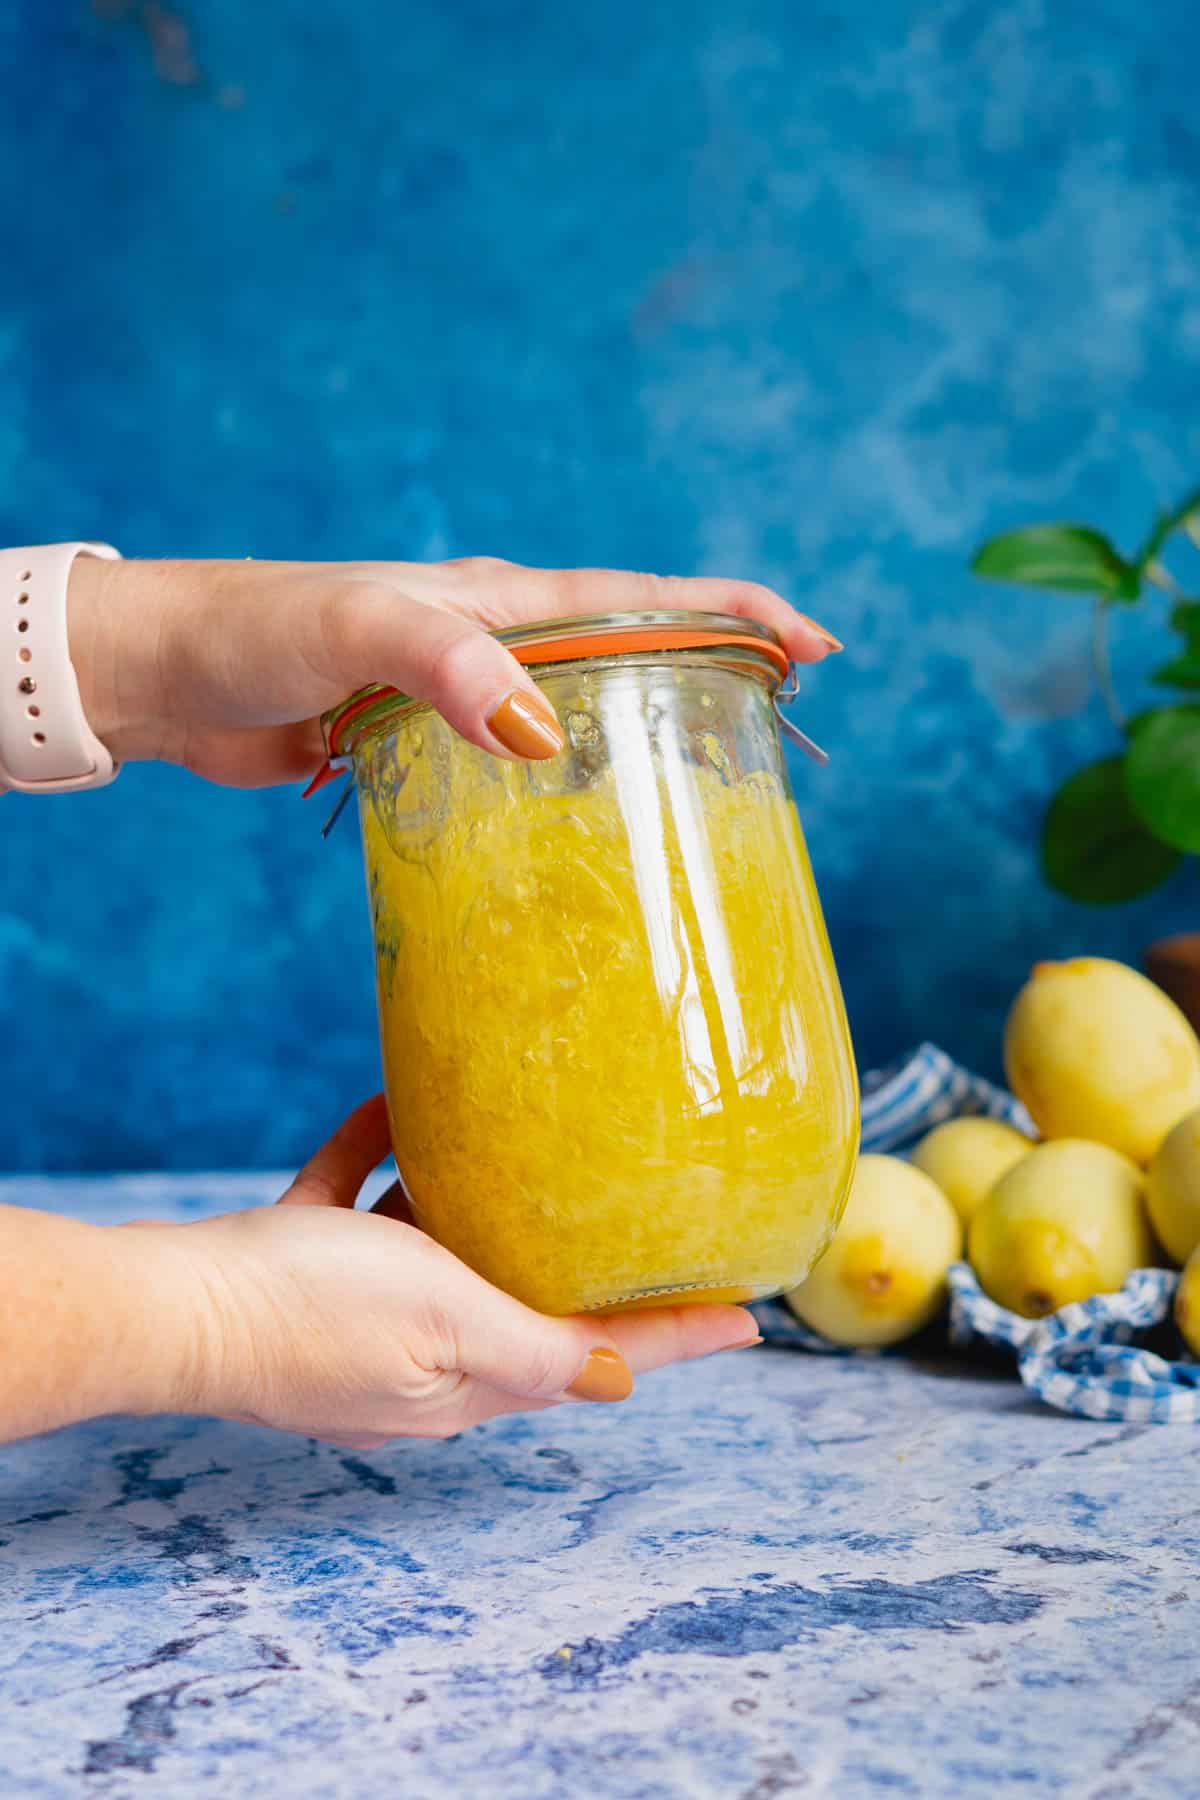
4: Seal the jar and give it a gentle shake before placing it in a cool dark place for up to 30 days. The longer it sits, the more intense the lemon flavor!
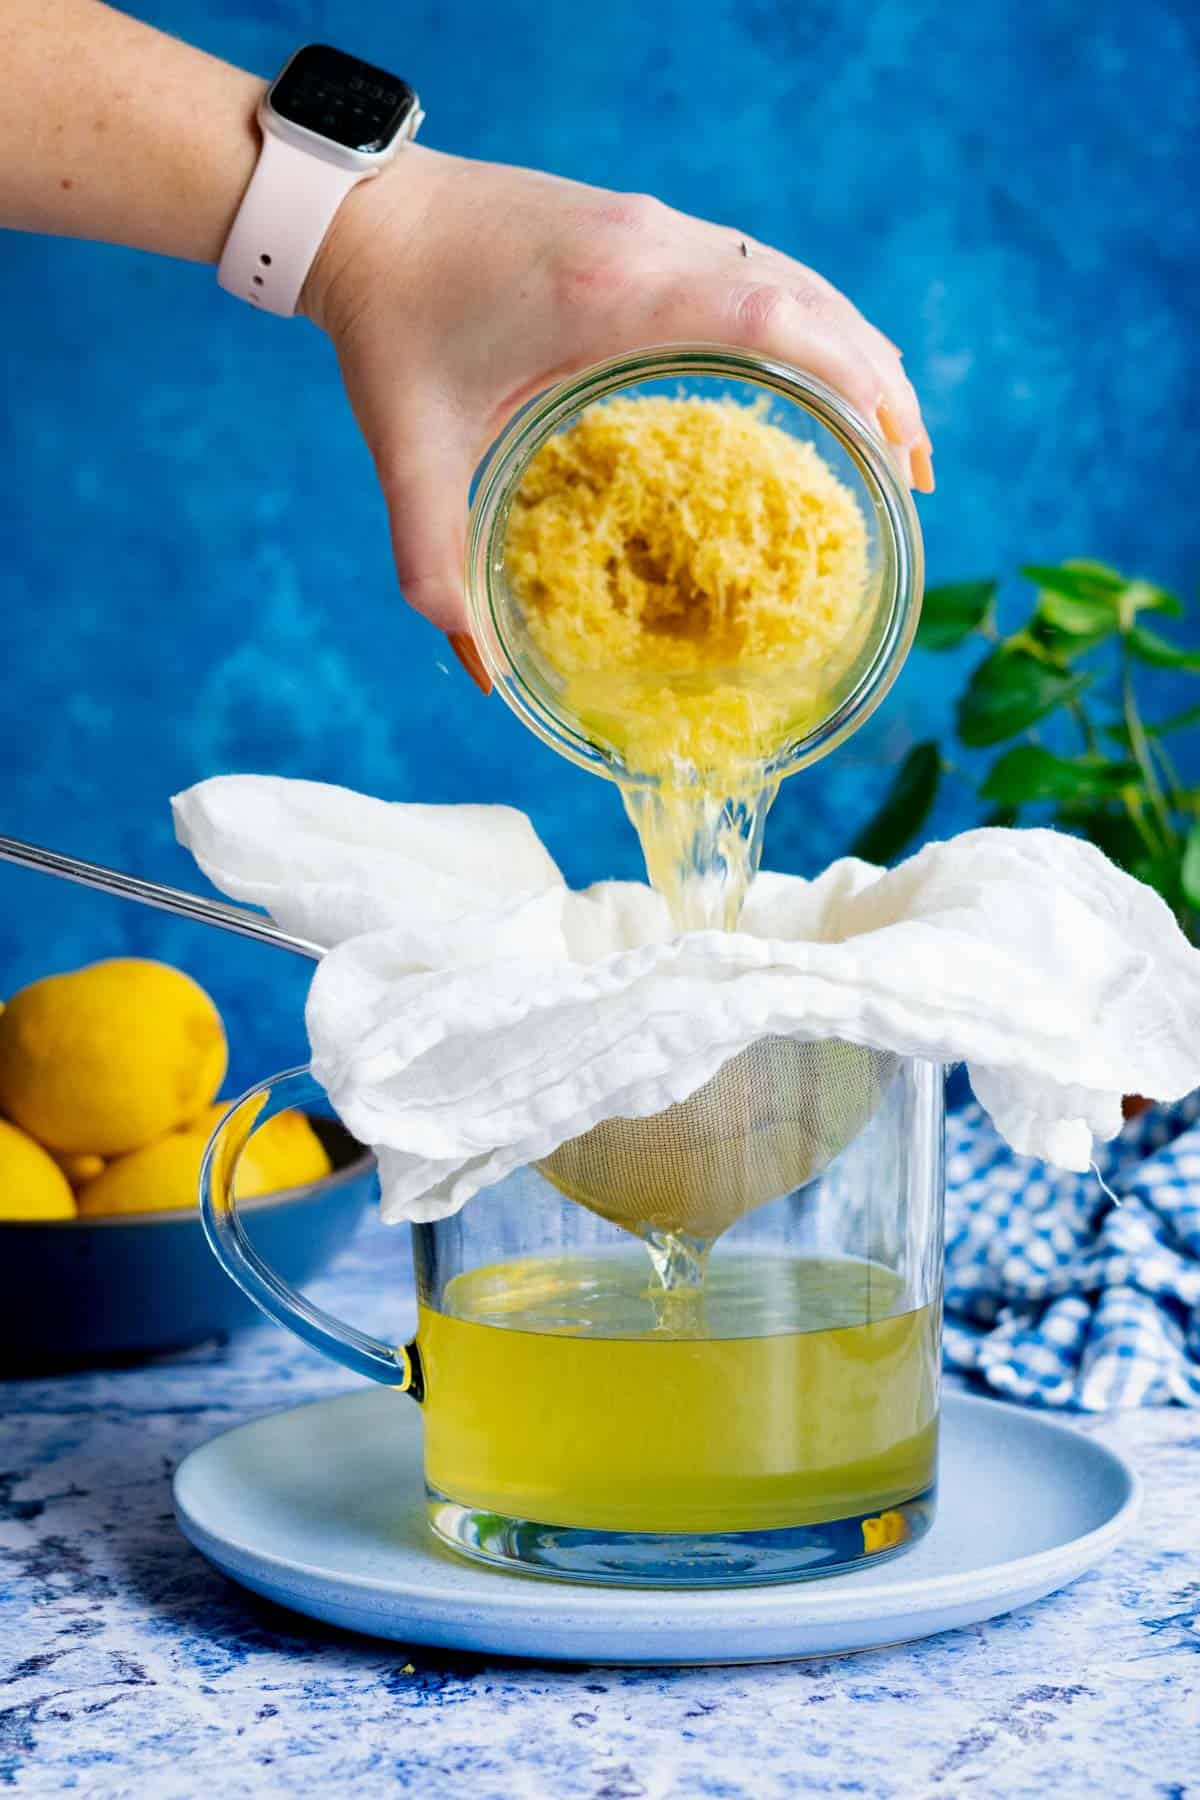
5: Once your limoncello has infused, it’s time to strain out the zest. Use a fine mesh sieve lined with cheesecloth to remove all the zest from the infused alcohol.
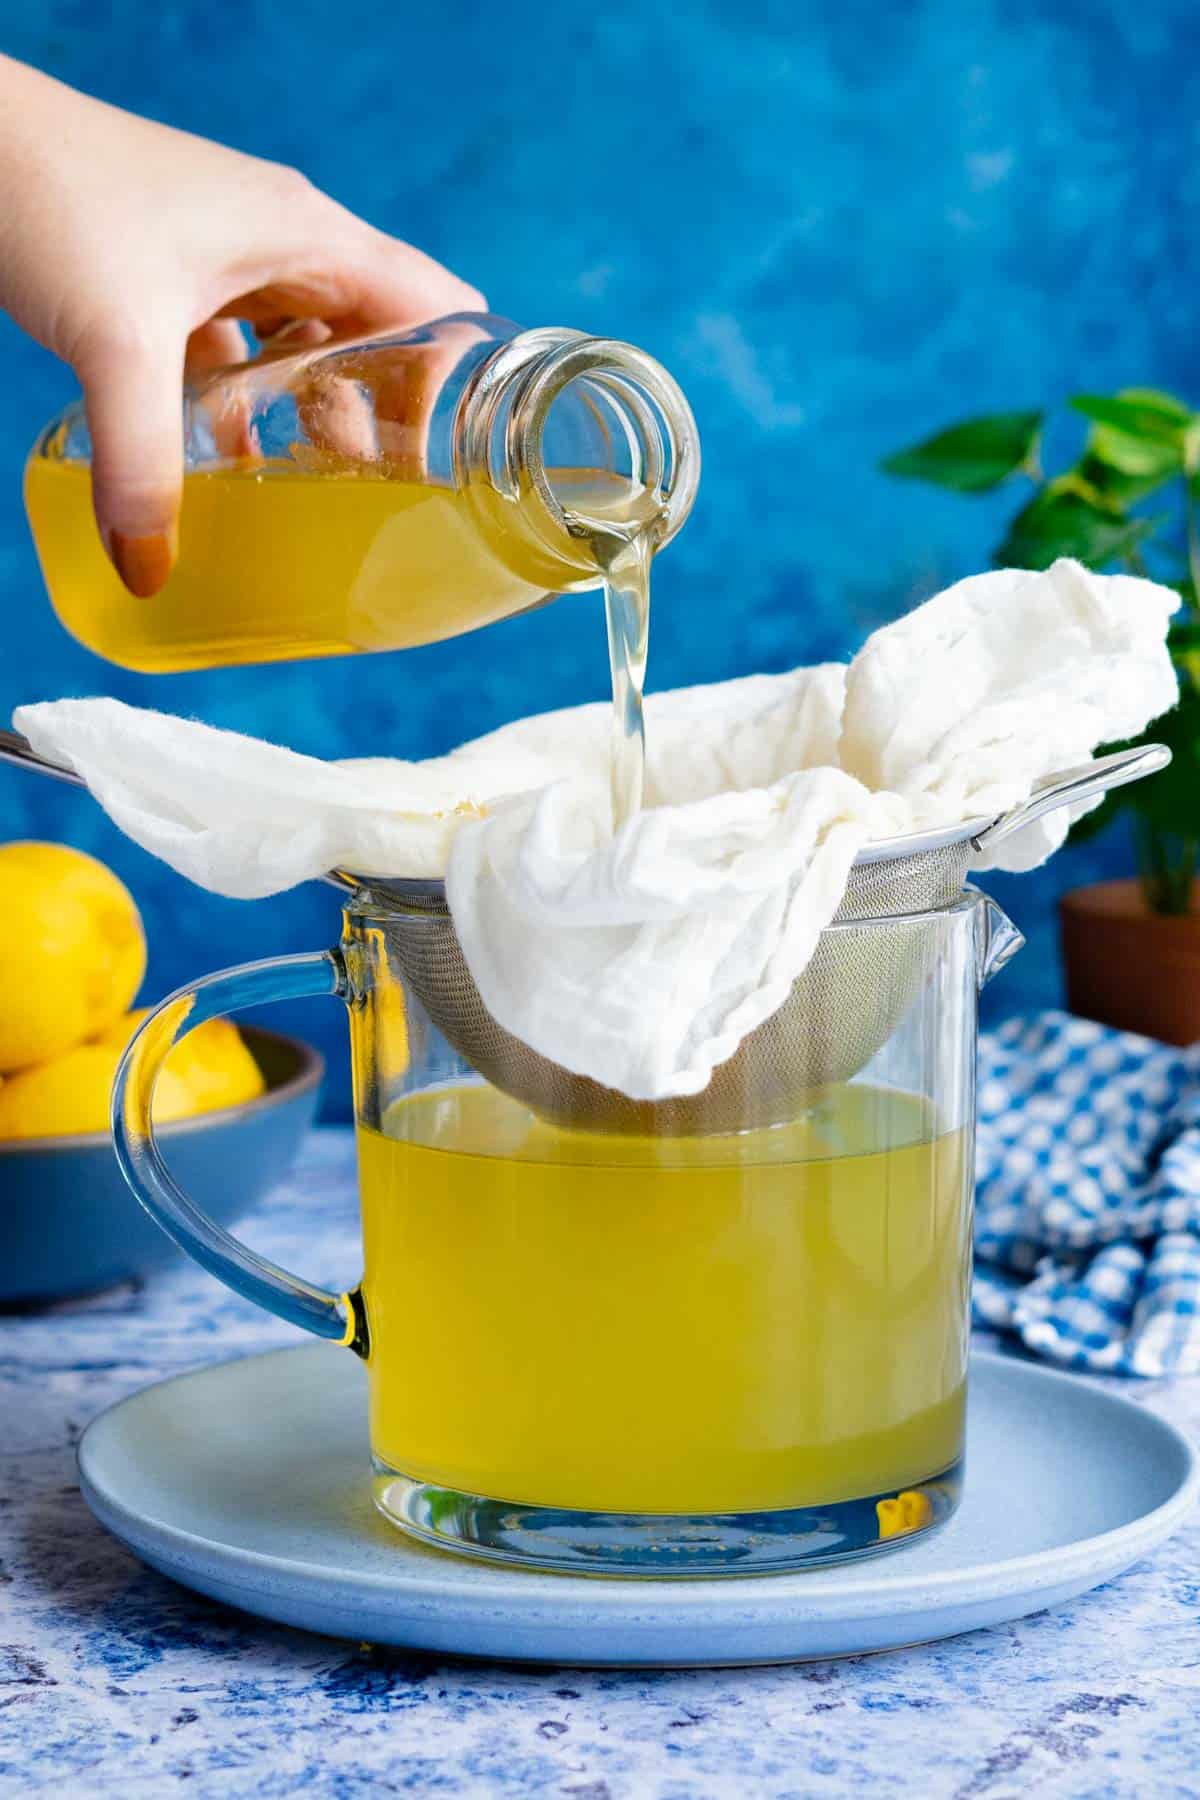
6: If you haven’t already, prepare a batch of lemon simple syrup to add to your lemon infusion. Add the lemon simple syrup to the limoncello and give the mixture a good stir.
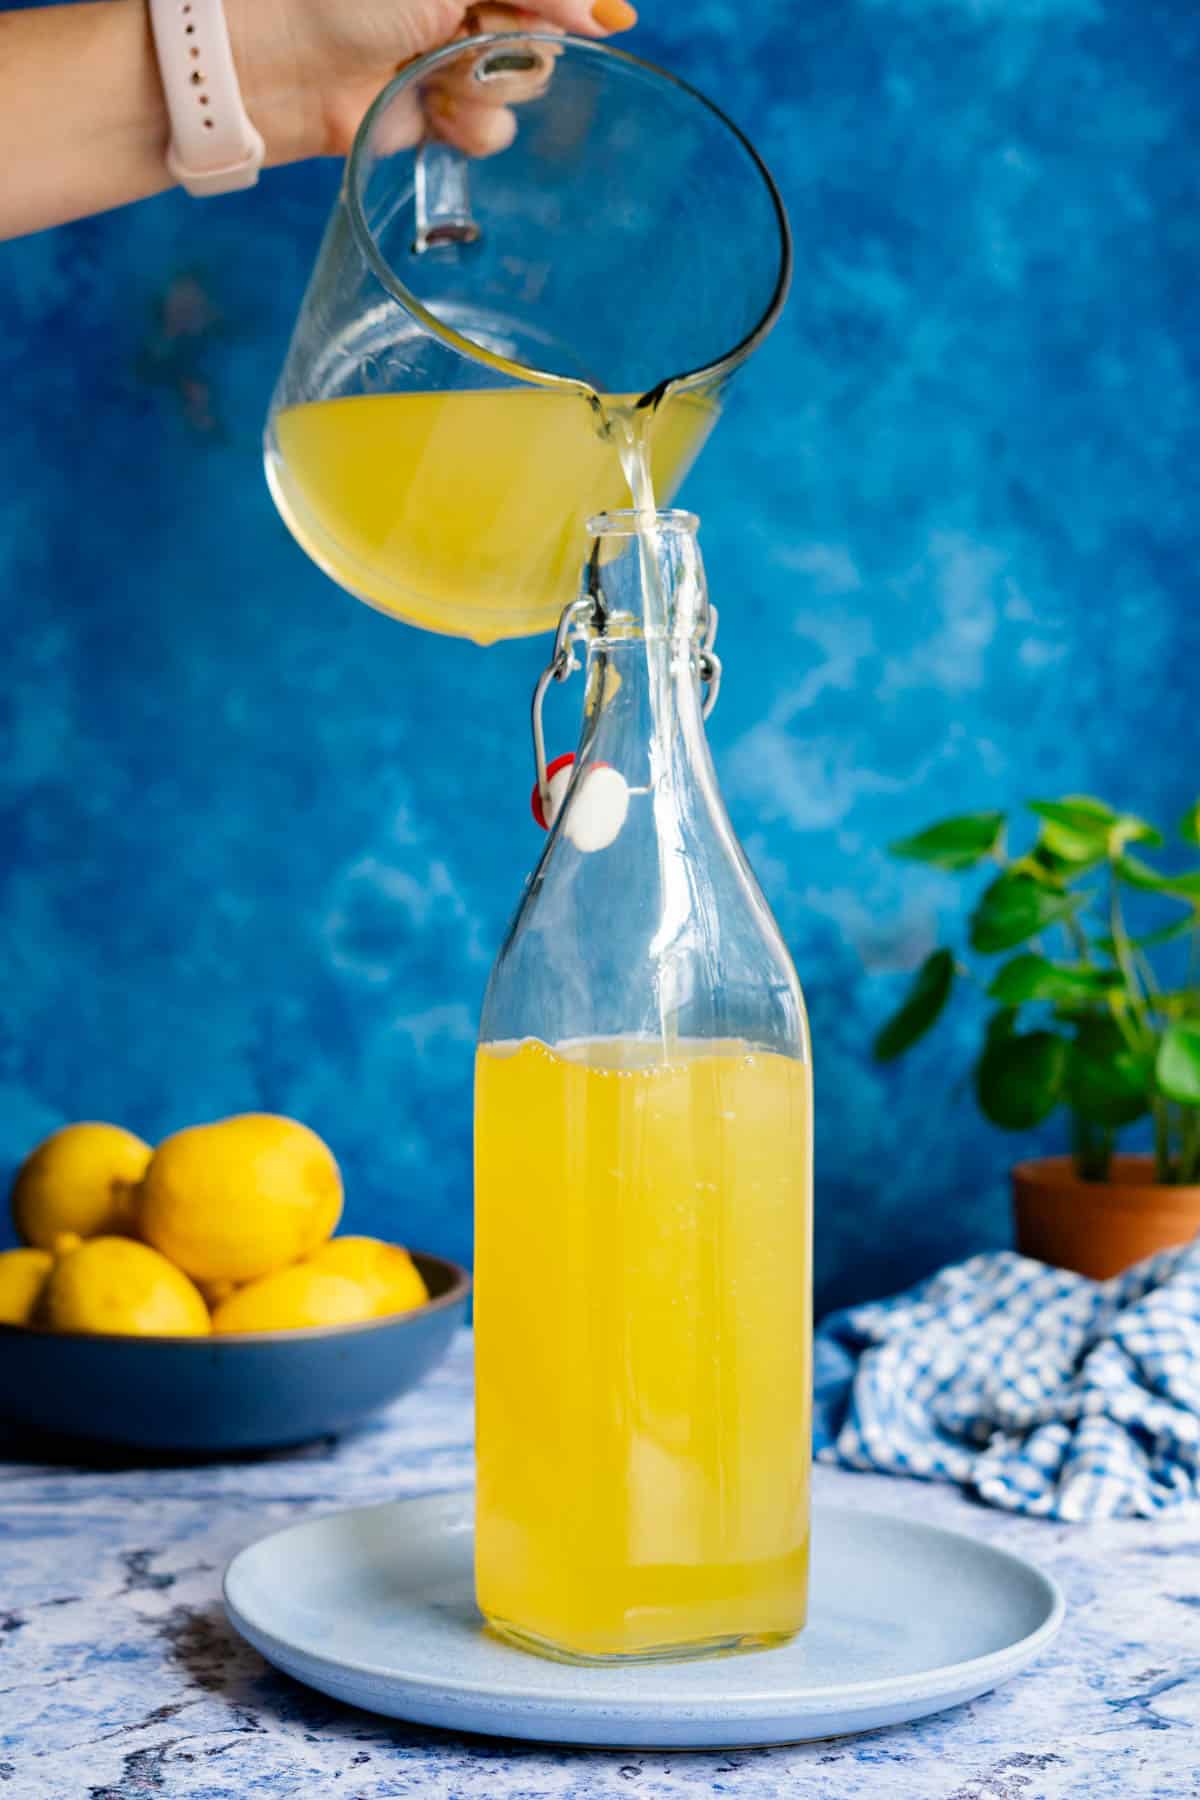
7: Carefully portion your finished limoncello into airtight storage bottles, taking care to label them so you know when they were prepared!
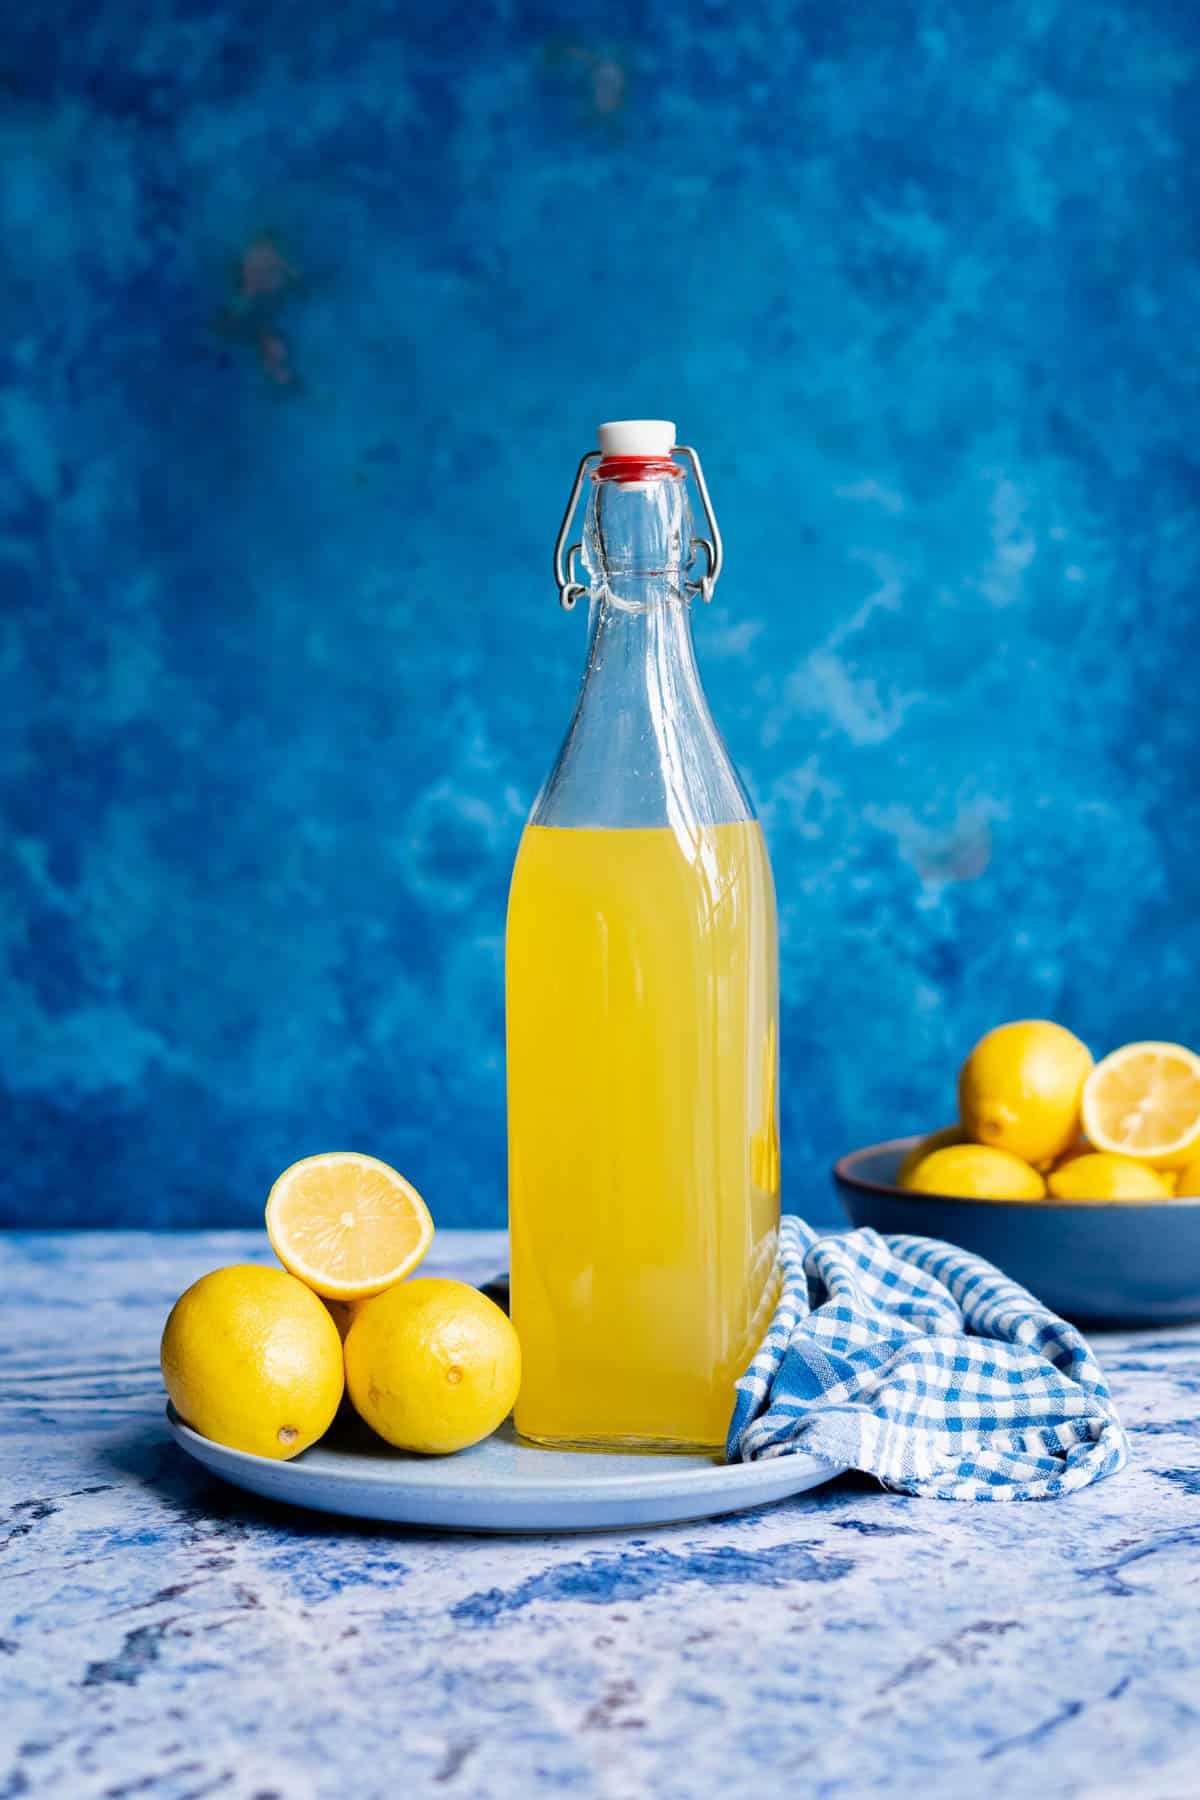
8: Store your finished limoncello in the fridge or freezer for up to 6 months for the best flavor. Finished limoncello is around 20-30% alcohol by volume, so it’s more prone to spoiling than a higher alcohol infusion.
Hint: It’s best to allow the limoncello to rest again after incorporating the sugar syrup, but I know it can be hard to wait! You can start enjoying it immediately, but the flavor will deepen over time.
💡tips & tricks for getting it right
ℹ️ troubleshooting tips
- save your juice – while this recipe doesn’t use the lemon juice, I recommend that you juice your peeled lemons anyway. You can portion the juice into ice cube trays and freeze it for later use. You can also use the juice to make a batch of lemon syrup, then pop that in the freezer until your limoncello has infused.
- let it rest – the best limoncello comes from allowing it to have ample resting time. All in all, expect to wait at least 30 days for the best lemon liqueur. Admittedly, I have sped up the process to about two weeks, but the flavor is always deeper and more robust after allowing the liqueur to rest longer.
- only the zest – for easiest removal of the zest, use a microplane zester to remove the zest from your lemons. It does the best job of only getting the yellow zest, not the white pith, which is bitter. If you don’t have a microplane, you can use a sharp vegetable peeler, but use extra care to not peel your lemons too deep. Check your lemon peels for any white pith, and if you see any, you’ll want to trim it off your lemon strips using a sharp pairing knife.
- bitter – you don’t need very much pith at all to end up with a bitter infusion, so if your limoncello is bitter, chances are it’s got pith in it. You can offset this by adding in more syrup until the flavor is a bit more on the sweeter side. All is not lost if you can’t balance it out though! Certain aperitifs like Campari and Aperol are bitter, so you can use that to your favor in cocktails!
🍽️ how to serve your homemade limoncello
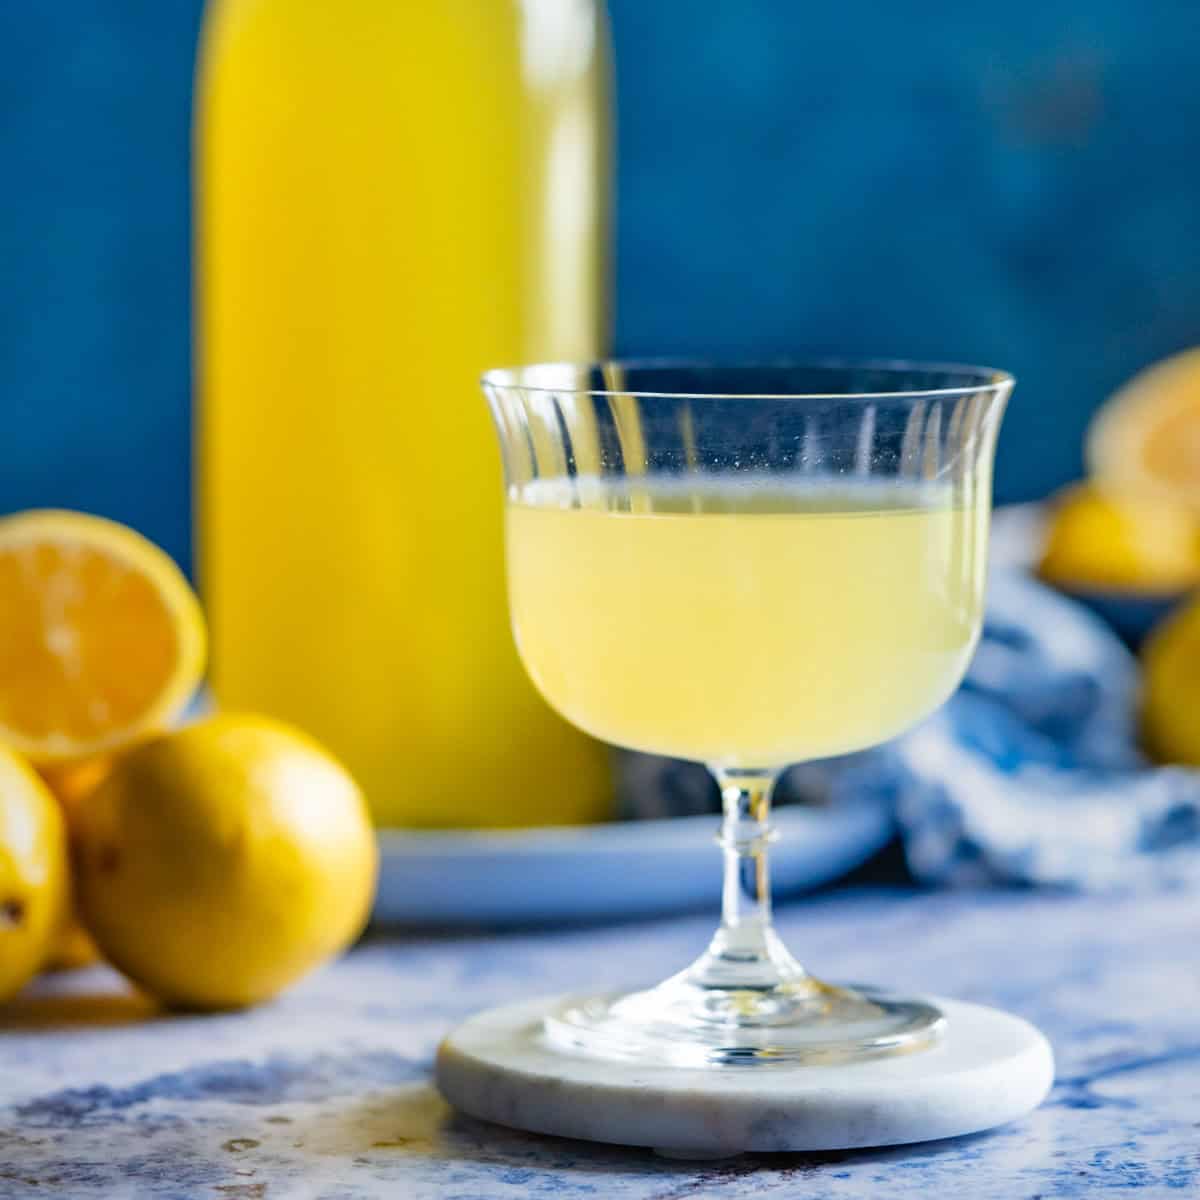
- straight up – serve your limoncello in a chilled shot glass after a meal for a classic Italian liqueur experience!
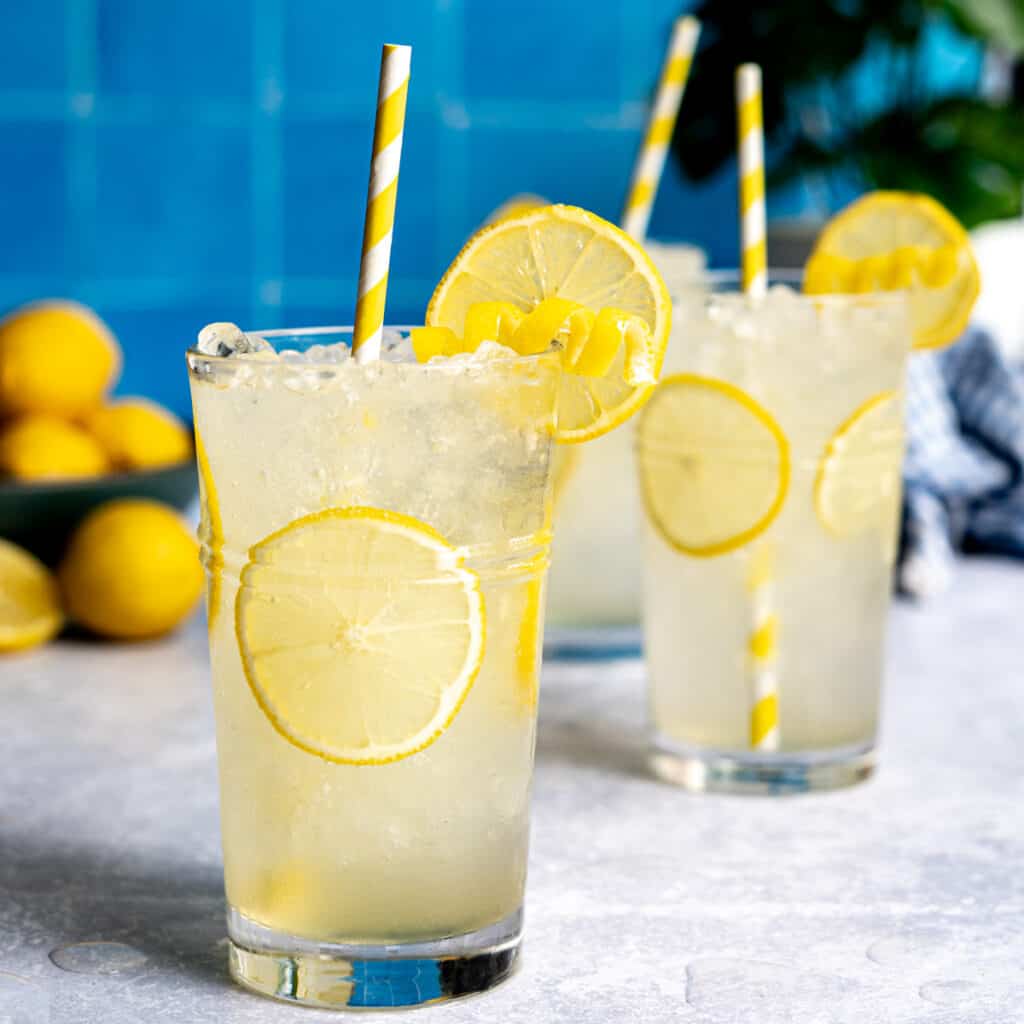
- limoncello spritz – try this classic Italian lemon spritz for a refreshing cocktail at a spring or summer party.
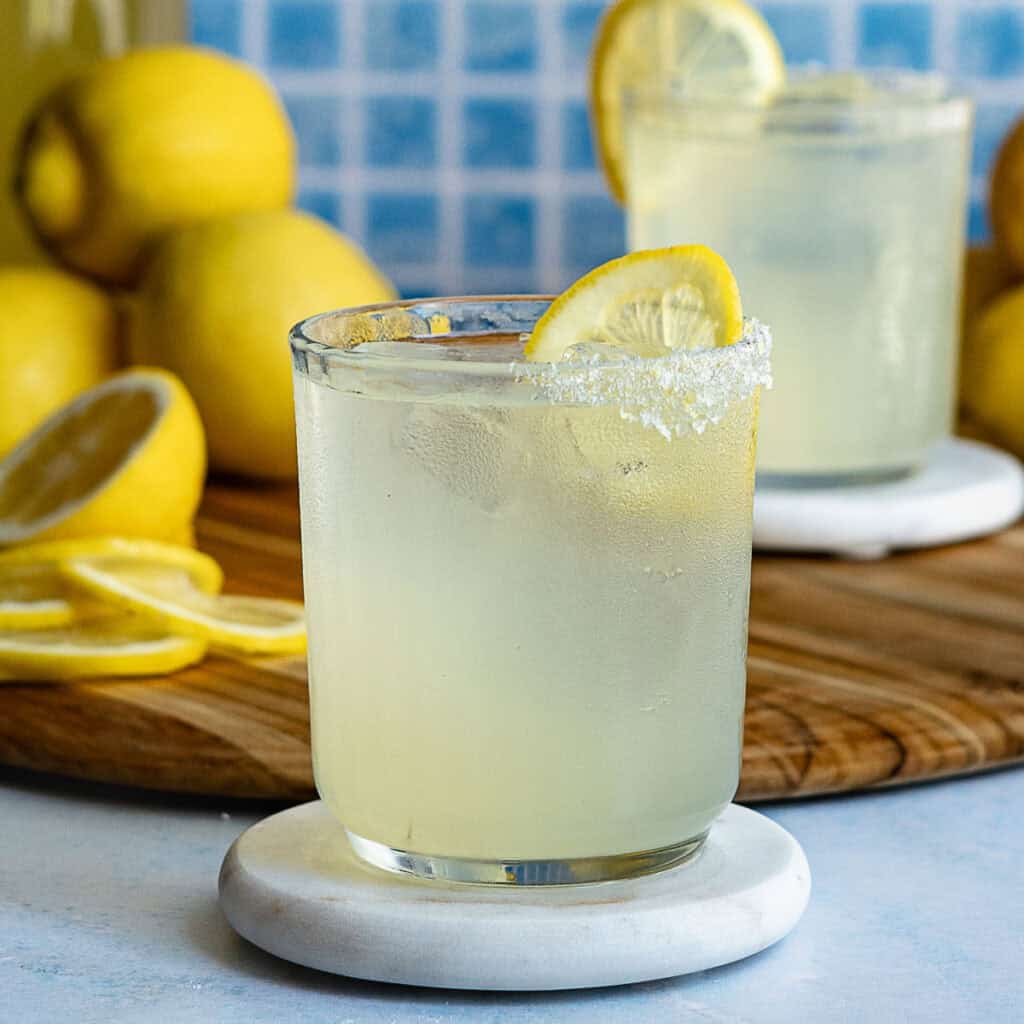
- Sorrento margarita – I love a classic margarita recipe, but this version of an Italian limoncello margarita is hard to beat, especially during warmer months!
- gift a bottle – homemade limoncello makes an excellent gift for family and friends, particularly around the holidays! You can make cute custom labels or tags for your bottles and hand them out as party favors, too!
🍹 more recipes that pair with limoncello!

Wanna save this recipe for later? 📬
♻️ customize your DIY limoncello
- oranges – I love making liqueurs from other citrus, like blood orange liqueur! You can even use a mixture of citrus for a fun custom blend!
- classic simple syrup – if you’d prefer to make a limoncello that’s more akin to the traditional version of this popular Italian liqueur, you can use a regular simple syrup recipe instead of a lemon version.
🧰 equipment needed & storage tips
🔆 tool tip
Make sure you use tools that are non-reactive and non-porous, like stainless steel and glass. Do NOT use plastic containers to infuse liquors, because it can leech into your infusion.
🫙 how to store homemade limoncello
Store your limoncello in a dark cool place for the best flavor. Since the final infusion is around 20 – 30% ABV, it’s best to store your limoncello in the fridge or freezer to preserve it.
You can technically store it at room temperature, but it’s possible that bacteria or mold can grow in your infusion. I love storing it in the freezer so it’s always chilled and ready!
💬 q+a
If you make this recipe, please leave a review in the comments and a star rating!
⭐️⭐️⭐️⭐️⭐️
I read every single comment, and each rating is helpful to other readers, too! 🥹
I also love connecting on social media, so snap a pic and hashtag it #myrecipeforfun and tag me on YouTube, TikTok, Threads, or pin this recipe on Pinterest!
Homemade Italian Limoncello (DIY 30-Day Lemon Liqueur)

Wanna save this recipe for later? 📬
Equipment
- 1 microplane zester
- 1 large infusion jar glass
- 1 fine mesh sieve non-reactive metal, like stainless steel, NOT aluminum
- 1 cheesecloth optional, for straining additional sediment
- 1 airtight storage container
Ingredients
- 30 g lemon zest from about 2 pounds of lemons, or 10-12 lemons.
- 688 g 100-proof vodka one 720 mL bottle
- 12 ounces lemon simple syrup up to 16 ounces if you want a sweeter liqueur
Instructions
Prepare the infusion
- Prep your lemons. Throughly clean 10-12 lemons (about 2 pounds) to remove any dirt or impurities from the skin. Since we are using the zest, you’ll want to make sure your lemons are really clean.
- Zest the peel. Zest your lemons using a microplane grater, using care to only remove the zest, not the bitter white pith. You should be able to get about 30g of zest.30 g lemon zest
- Infuse. Place the zest in a large infusion jar, then slowly pour 1 bottle of high-proof vodka overtop of the zest.688 g 100-proof vodka
- Allow to rest. Seal the jar and give it a gentle shake before placing it in a cool dark place for up to 30 days. The longer it sits, the more intense the lemon flavor!
Strain and assemble the finished infusion
- Strain. Once your limoncello has infused, it’s time to strain out the zest. Use a fine mesh sieve lined with cheesecloth to remove all the zest from the infused alcohol.
- Make your lemon syrup. If you haven’t already, prepare a batch of lemon simple syrup to add to your lemon infusion.12 ounces lemon simple syrup
- Add syrup. Add the lemon simple syrup to the limoncello and give the mixture a good stir.
- Bottle the liqueur. Carefully portion your finished limoncello into airtight storage bottles, taking care to label them so you know when they were prepared!
- Store. Store your finished limoncello in the fridge or freezer for up to 6 months for the best flavor.




I almost couldn’t wait the full 30 days! But make sure you do, because boy is this tasty
The waiting is the hardest part! I have to hide it from myself hahaha! Thanks for your review, Len! 🎉