
Since I make a lot of special homemade drinks, I find myself making my own simple syrup on a regular basis. It is, after all, simple! But what if you can’t use a whole batch of syrup within a few weeks? How do you store leftover simple syrup? Can you make a big batch and freeze it for longer-term storage? Can you freeze simple syrup at all? YES, you can!
☃️ tl;dr : can you freeze syrup?!
Yes, you can absolutely freeze simple syrup! It will last 3-6 months in the freezer and is perfect for keeping seasonal flavors on hand year-round.
However, the freezing method you choose matters, and your syrup might not freeze completely solid (that’s totally normal!).
Keep reading for the best storage methods, why some syrups stay gooey when frozen, and my seasonal batch planning tips to always have the right flavors ready.
After over 10 years of making my own cocktails and mocktails, there’s one thing I’ve learned: homemade ingredients just taste better than store-bought. But it’s not always easy to keep homemade ingredients on hand because they tend to spoil quicker (lack of chemical preservatives will do that!).
Luckily, freezing your syrups gives more shelf life to your seasonal flavorings! This comprehensive guide covers everything you need to successfully freeze and store your precious homemade syrups!
why you’ll love freezing homemade simple syrups:
❄️ cool & convenient. There are a number of ways you can freeze and store your syrups! I’ll show you the best method for your specific needs.
👋🏻 keep flavors on hand. Storing your homemade simple syrups in the freezer is a great way to keep seasonal flavors at arm’s length, no matter the time of year!
💅🏻 fancy. Imagine the luxury of having homemade specialty beverages whenever the mood strikes. I’m talking about drinks like iced strawberry lattes and homemade limonata all year long!
😳 does simple syrup go bad?
Yes. Because it is made of just sugar and water, bacteria and microorganisms can grow in the mixture. This is especially true if it is stored improperly. If you ever see any cloudy matter in your simple syrups, throw them out.
You have some options when it comes to preserving the shelf life of your simple syrups.
- You can add in an acid, like a small amount of lemon juice, to help prevent the darkening of the syrup and crystallization.
- You can also add a small amount of high-proof alcohol, like 80-proof vodka or Everclear. The alcohol acts like the acidic lemon juice to inhibit crystallization and keep the syrup from changing colors over time.
Adding acid or alcohol helps to slow the growth of microorganisms that can lead you simple syrups to spoiling faster. HOWEVER!!! Adding lemon juice and alcohol will change the flavor of your syrup a bit, so if you want a classic sugar syrup, just leave them both out. As long as you store your syrups in the fridge and use your syrup within 14 days, you should be fine.
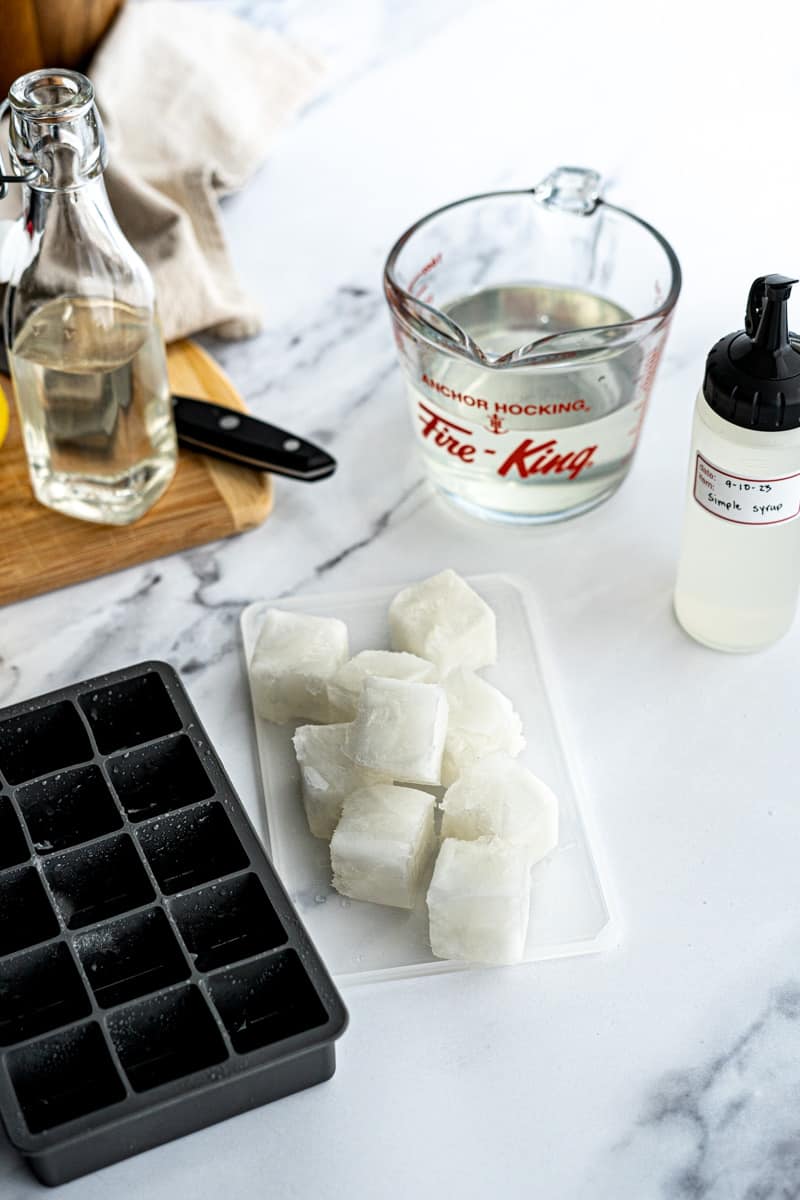
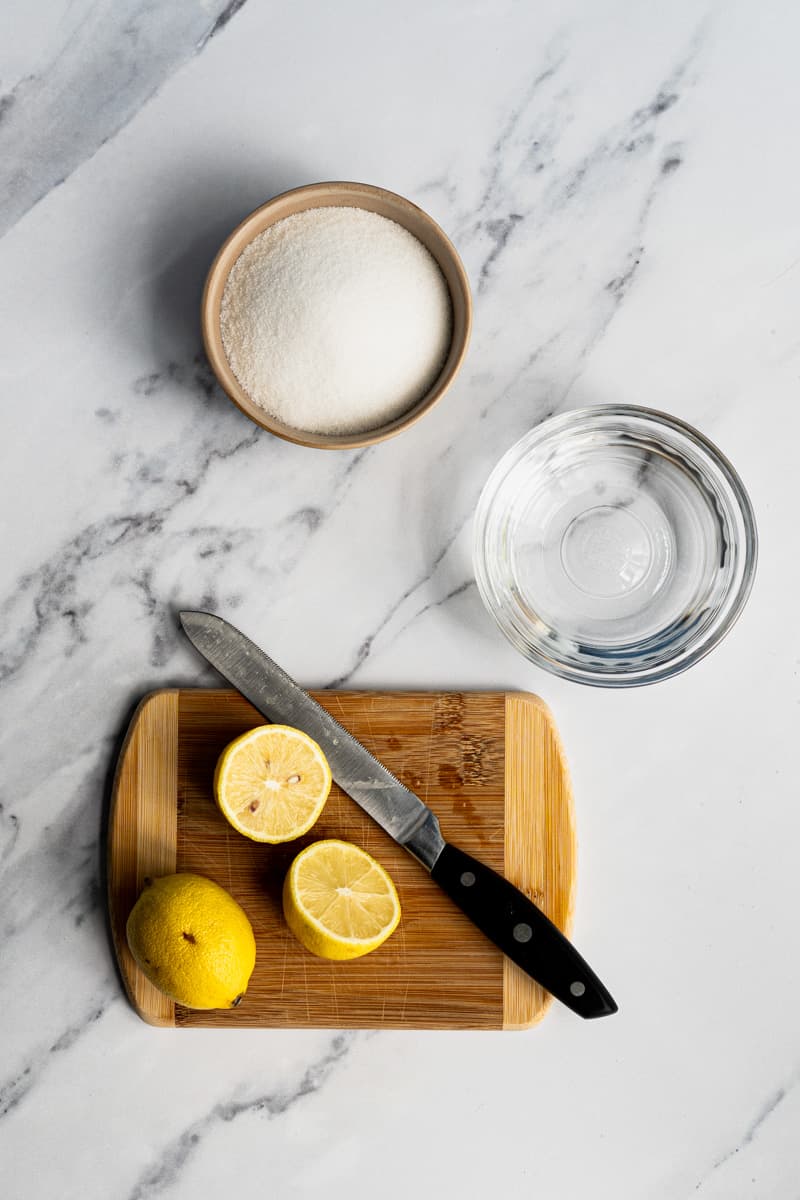
🛒 ingredients
See the recipe card for the exact quantities.
🍳 step-by-step process for freezing syrups
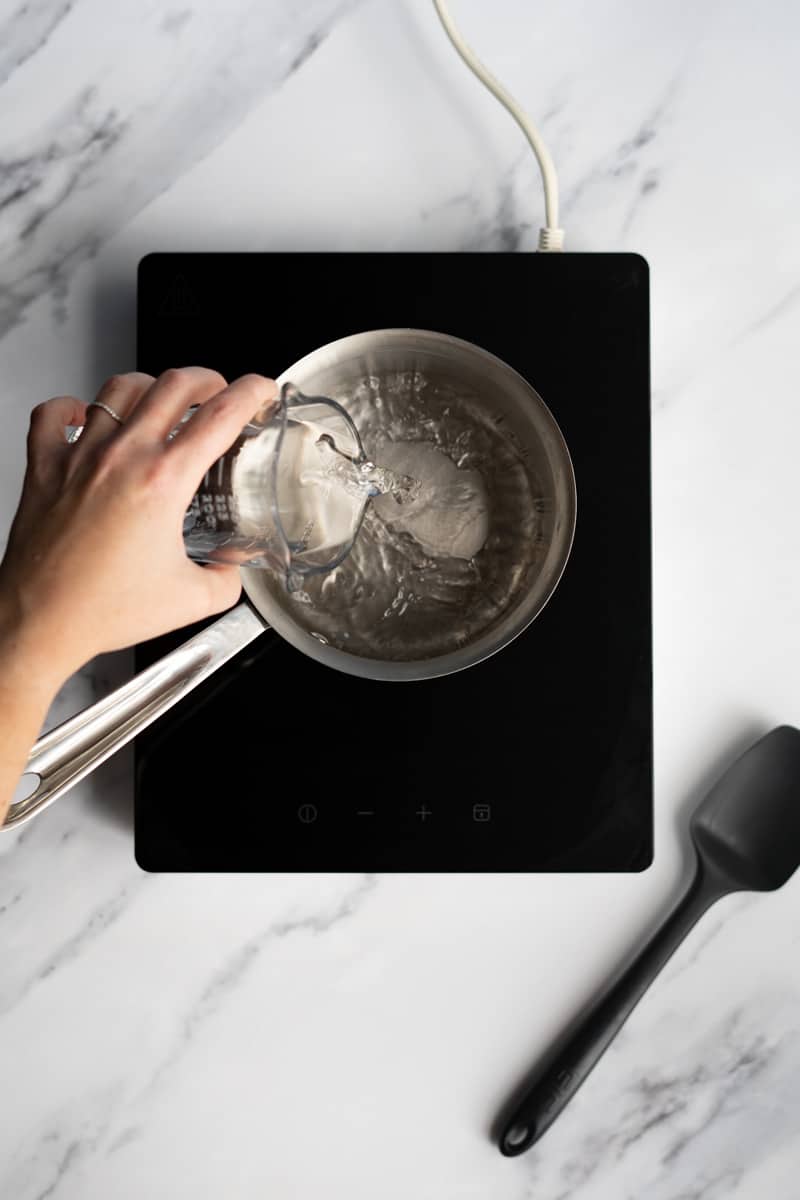
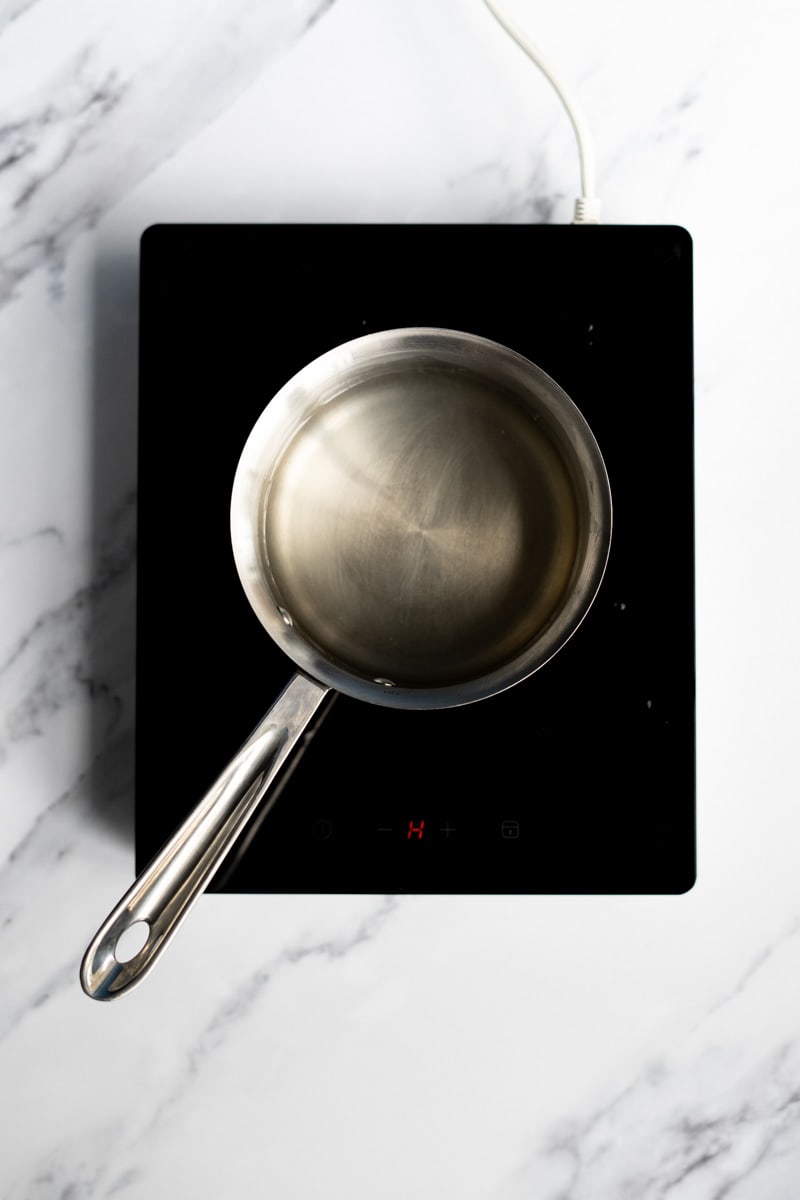
Step 1: Pour water into a 1.5-quart saucepan, and place it over medium heat.
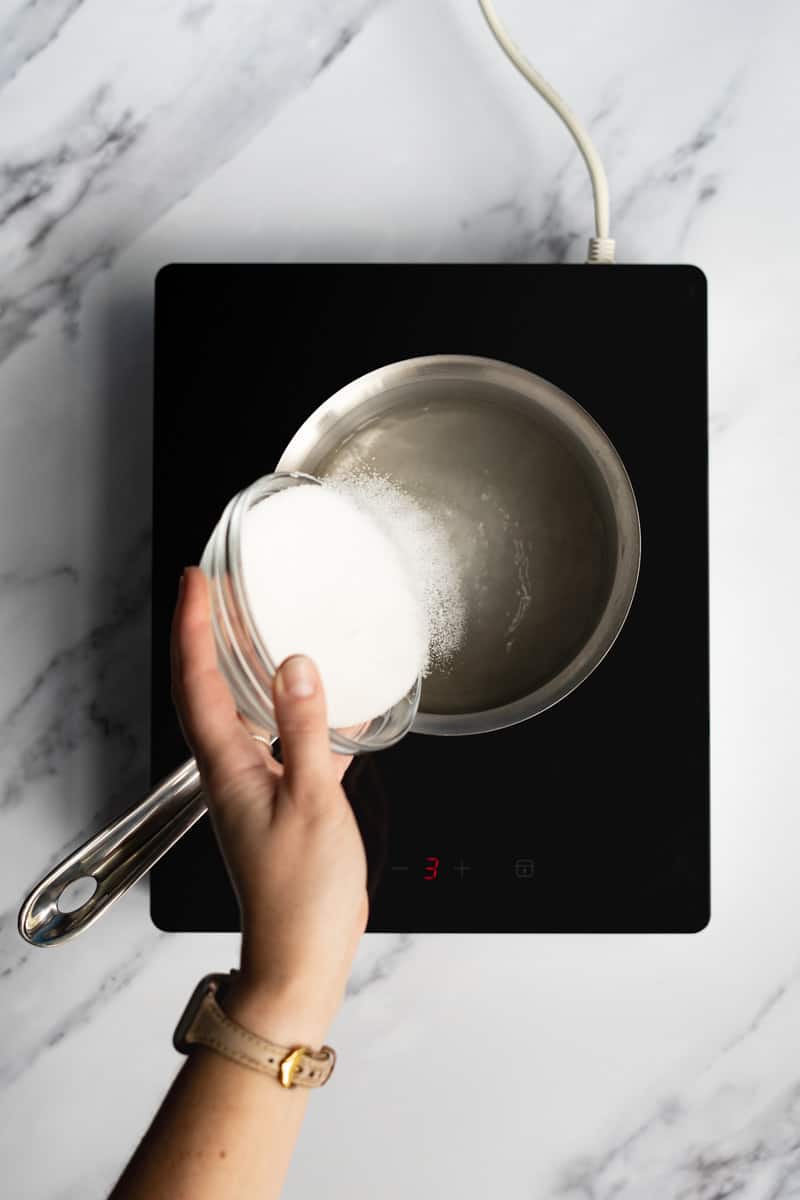
Step 2: Add sugar to the pan and stir it occasionally to help the sugar dissolve.
3: Once the sugar is completely dissolved, remove the pan from heat and allow it to cool slightly. Add the lemon juice if you’re using it.
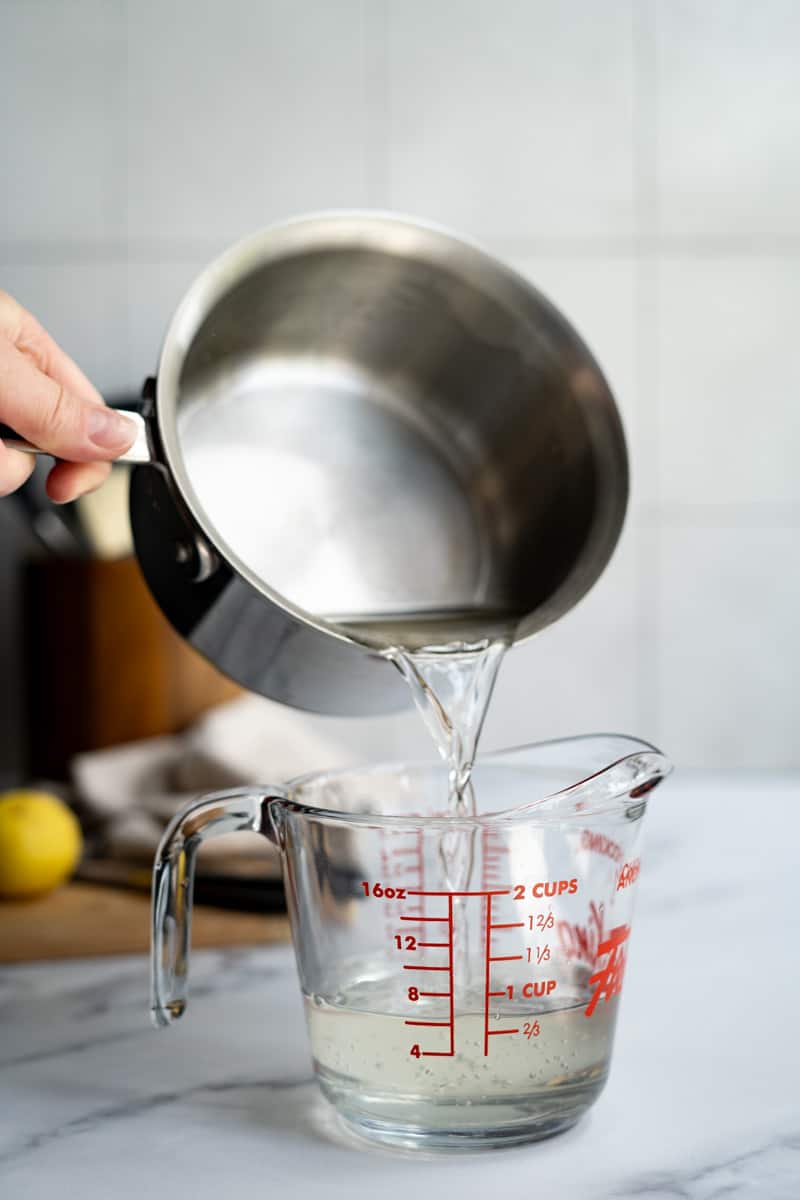
4: Transfer the mix to a heat-safe container, like a glass measuring cup, to make it easier to pour into ice cube trays.

5: Carefully pour your syrup into ice cube trays, then transfer to the freezer for 6-8 hours, or until frozen.
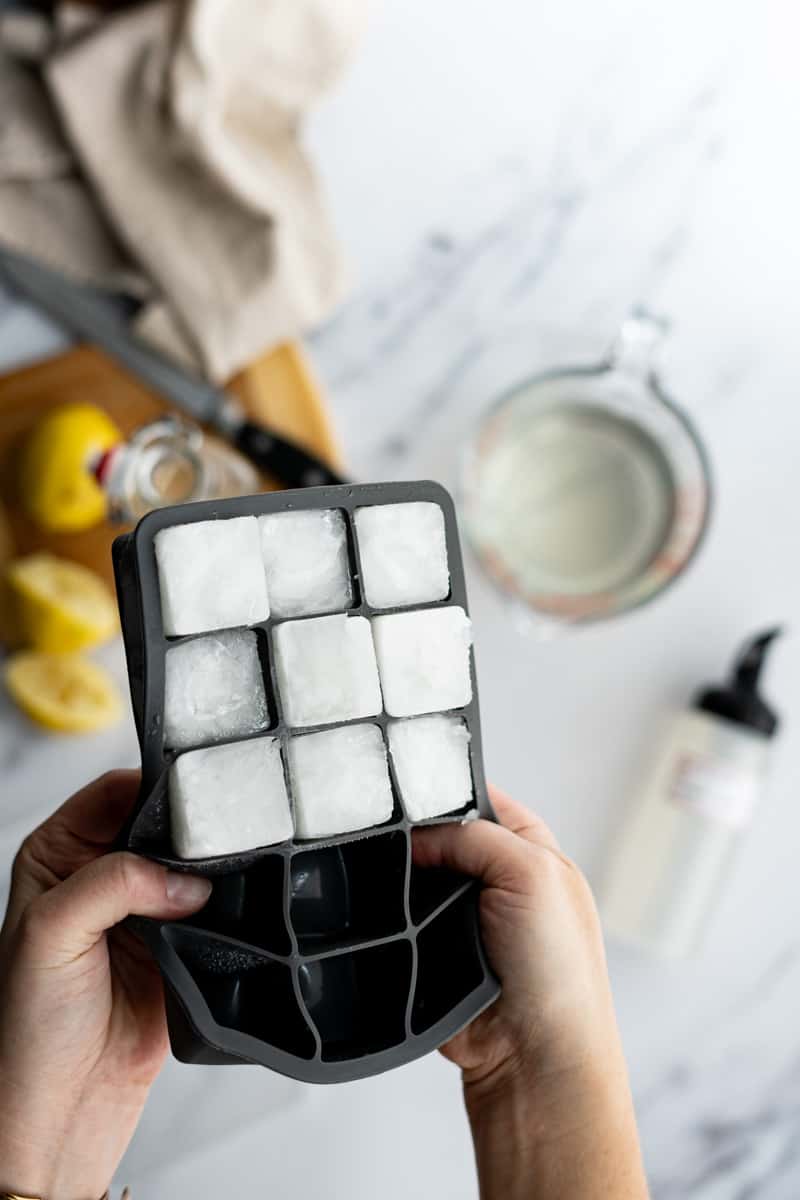
Step 6: Once the cubes have frozen solid, pop them out of the ice cube tray and store them in a zip-top bag in the freezer for up to 3 months.
💡tips & tricks for getting it right
ℹ️ troubleshooting tips
Are you having problems getting your syrup to freeze? Check out the possible troubleshooting tips and solutions below!
| problem | likely cause | solution |
|---|---|---|
| won’t freeze solid | too much sugar or alcohol | dilute with water or leave in trays to scoop out with spoon |
| crystallizes when frozen | not enough sugar or acid | add pinch of cream of tartar, acid (lemon juice), or high proof alcohol |
| separates when thawed | oil-based flavoring | shake vigorously before use |
| tastes off after freezing | freezer burn | use airtight containers |
Wanna save this recipe for later? 📬
🧰 equipment needed & storage tips
🧊 best ways to freeze simple syrups
| method | best for | pros | cons | thaw time | favorite products (affiliate links) |
| ice cube trays | portion control, cocktails | easy measuring, quick thaw | takes freezer space | 2-5 minutes | Souper Cubes 2 TBSP trays Tovolo tray with lid |
| small bottles (4-8oz) | weekly batches | single-serve portions | more containers to manage | 15-30 minutes | OXO 6 oz. squeeze bottle OXO 12 oz. squeeze bottle |
| large bottles (16oz+) | bulk preparation | space efficient | longer thaw time | 2-4 hours | OXO 16 oz. squeeze bottle |
| freezer bags (flat) | space saving | stackable, portion breakable | risk of puncture + leakage | 10-20 minutes | Ziploc freezer bags |
🫙 top tips for storing simple syrup in the freezer
- label everything – make sure to label all your syrups with the recipe name, date you made it, and date you need to use it by (trust me on this!).
- portion planning – use the chart above to plan how to store your syrups for your most-made drinks and recipes!
- quality control – be sure to periodically check your syrup stash for spoiled or expired syrups.
🗓️ seasonal syrup planning
One of my favorite strategies is planning syrup batches around the seasons. This way, you’re always prepared with the perfect flavors for your drinks, and you can take advantage of peak ingredient seasons for the best taste and prices!
🌸 spring (March – May)
The perfect time to prep for summer entertaining! Make these bright, fresh syrups:


☀️ summer (June – August)
Peak fruit season! Focus on fresh, light flavors:


🍂 fall (September – November)
Time to prep for holiday entertaining with warm, cozy flavors:


❄️ winter (December – February)
Peak citrus season and cozy holiday spice time:


💬 q+a
How long does simple syrup last in the freezer?
When stored properly, a bottle of simple syrup can last about 3 months in the freezer (though I’ve kept it for up to 6 months). Be sure to check it for signs of spoilage, like cloudiness (when thawed) or spots of floating debris.
Why didn’t my simple syrup freeze solid?
If you made your syrup using heat, it’s possible too much water evaporated during the cooking process. If this happens, the ratio you are left is closer to a rich syrup, or a 2:1 ratio of sugar to water. Rich syrups will not freeze solid because of the higher sugar content.
What’s the best container for freezing simple syrup?
This depends on a few things: how much freezer space you have, how much syrup you have, and how quickly you want to defrost it. In general, I like using ice cube trays (with a lid, please!!), small squeeze bottles, and freezer-safe ziploc backs.
If you make this recipe, please leave a review in the comments and a star rating!
⭐️⭐️⭐️⭐️⭐️
I read every single comment, and each rating is helpful to other readers, too! 🥹
I also love connecting on social media, so snap a pic and hashtag it #myrecipeforfun and tag me on YouTube, TikTok, Threads, or pin this recipe on Pinterest!

How to Freeze Simple Syrup (Storing Homemade Simple Syrup)
Wanna save this recipe for later? 📬
Equipment
- 1 ice cube tray with lid
- 1 zip top storage bag
Ingredients
If you already have a syrup to freeze
- 16 ounces simple syrup (or however much syrup you have leftover!)
If you need to make a syrup
- 200 g granulated sugar 1 cup
- 237 g filtered water 1 cup
Instructions
- Heat water. Pour water into a 1.5-quart saucepan, and place it over medium heat.237 g filtered water
- Add sugar. Add sugar to the pan and stir to dissolve.200 g granulated sugar
- Cool. Once the sugar is completely dissolved, remove the pan from heat and allow it to cool slightly.
- Pour into container. Transfer the mix to a heat-safe container, like a glass measuring cup, to make it easier to pour into ice cube trays.
- Portion + freeze. Carefully pour your syrup into ice cube trays, then transfer to the freezer for 6-8 hours, or until frozen.16 ounces simple syrup
- Store. Once the cubes have frozen solid, pop them out of the ice cube tray and store them in a zip-top bag in the freezer for up to 12 months.


I don’t use the freezer a lot, but freezing my leftover simple syrup was so smart! Now that I have ice cubes of simple syrup, I can make a drink whenever I want without worrying about wasting leftovers! Thank you for the tips!
Hooray for being able to save leftovers, right?! 🥳 I usually have my freezer door stocked with more syrups than I’d like to admit, lol! Thank you for sharing that you found the tips helpful, Maria! 🥰